Experiments
I'm very interested in the mechanics of cameras, optics, and light, so I've done a little experimenting with older camera formats and techniques to explore those, which I've documented on this page.
Kodak Instamatic (126 film)
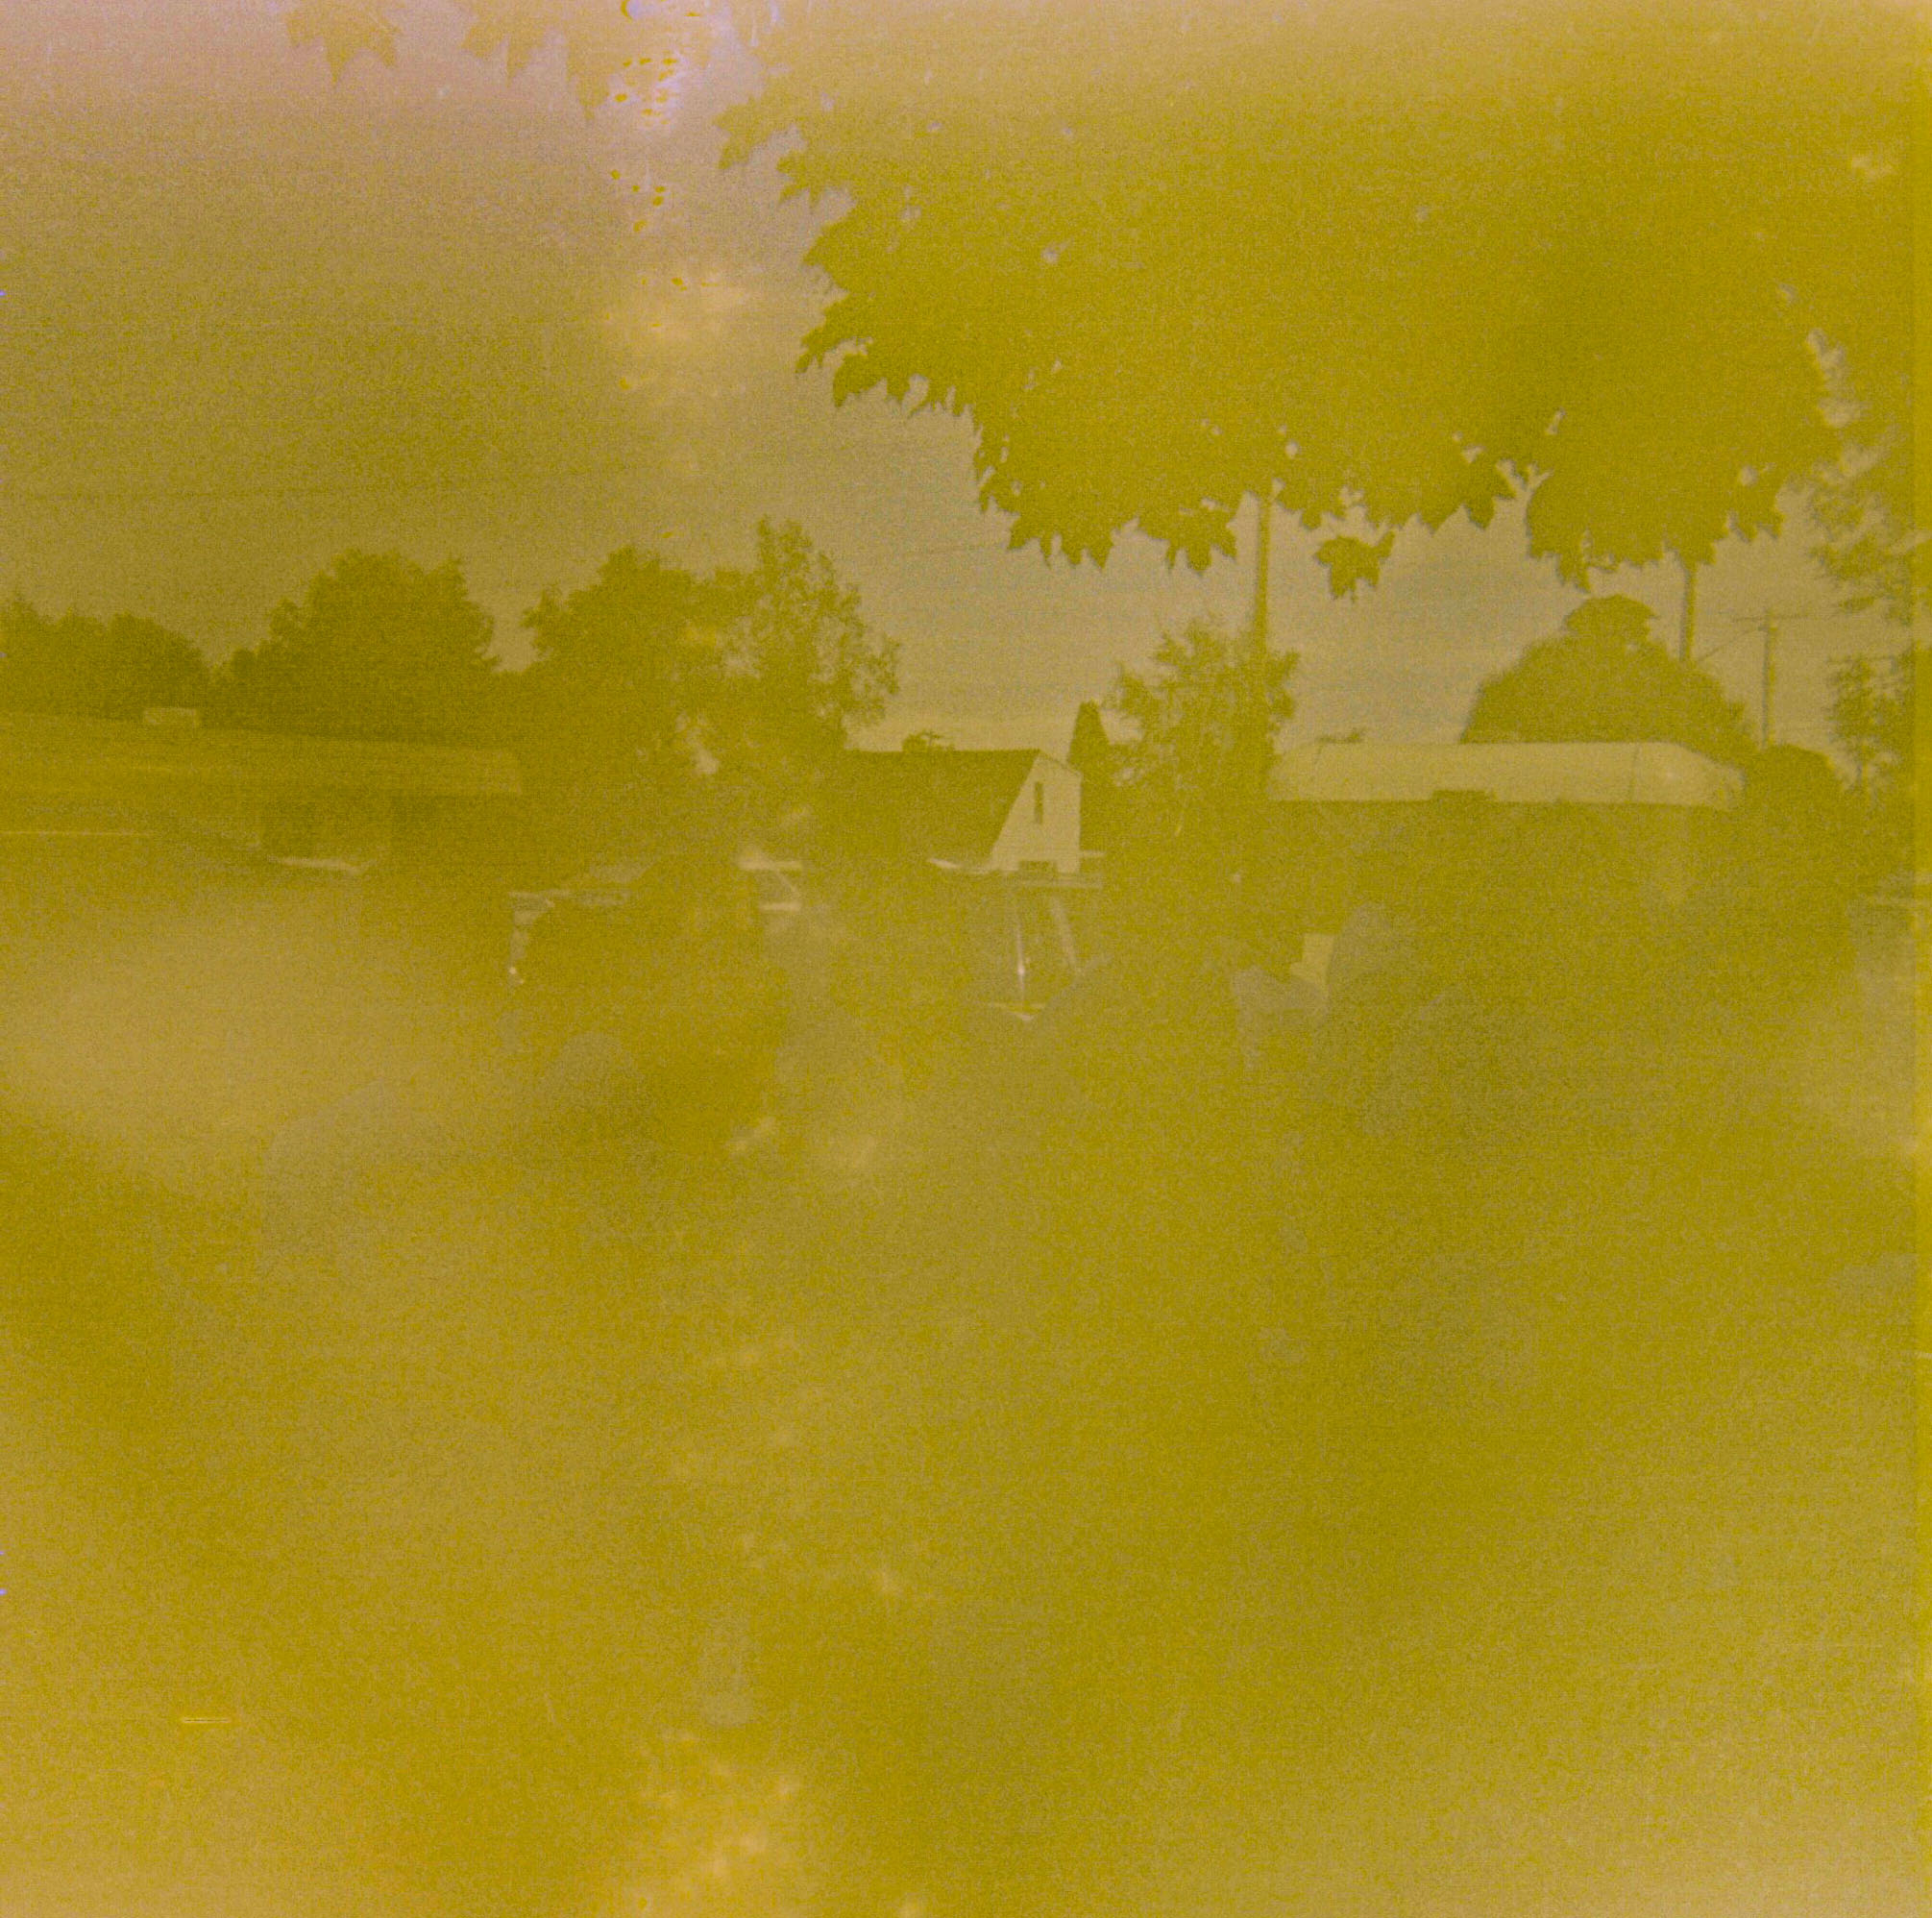
On my trip to Idaho, I bought my first ever film camera: a Kodak Instamatic 104, for $10. What I didn't know is that the Instamatic series only shoots 126 film, an obsolete cartridge format that hasn't been properly produced in 25 years. So it would be nearly impossible to find unexpired cartridges (and hardly worth it, considering the generaly poor quality of cameras like the Instamatic).
Thankfully, the one I bought actually happened to have a cartridge inside, with a few shots left! Unfortunately it was, unsurprisingly, expired. I tried my best to crank the contrast on the developed photos, but only one has any real discernible details - you can make out the roof of a house, some leaves against the sky, and what looks like an RV or trailer. The rest of the photos, even with every kind of dehazing and contrast trick I know, just look like random noise and shapes.
I do have an adapter that theoretically allows me to use 35mm in a 126 camera, but I haven't tested it yet because it doesn't seem worth spending the cost of a 35mm roll on what will probably be pretty bad photos, considering the cheapness of the camera. With that said, the Instamatic is a nice display piece and it does have sentimental value for me both because I bought it on that trip to Idaho with my friends and because it was the first film camera I ever bought.
Gameboy Camera
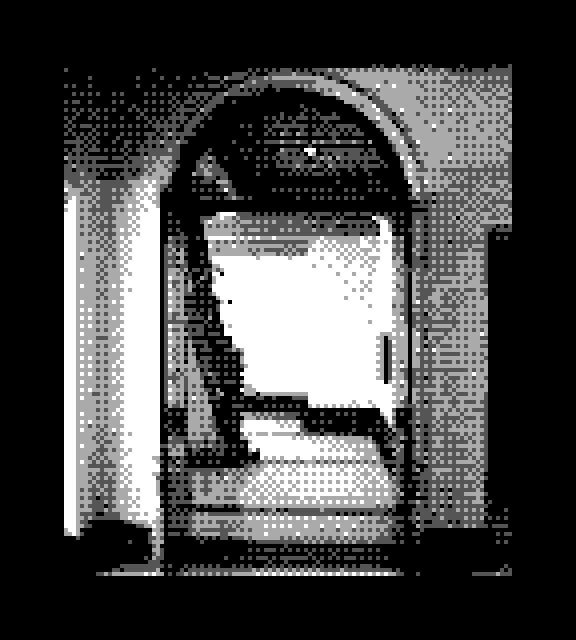
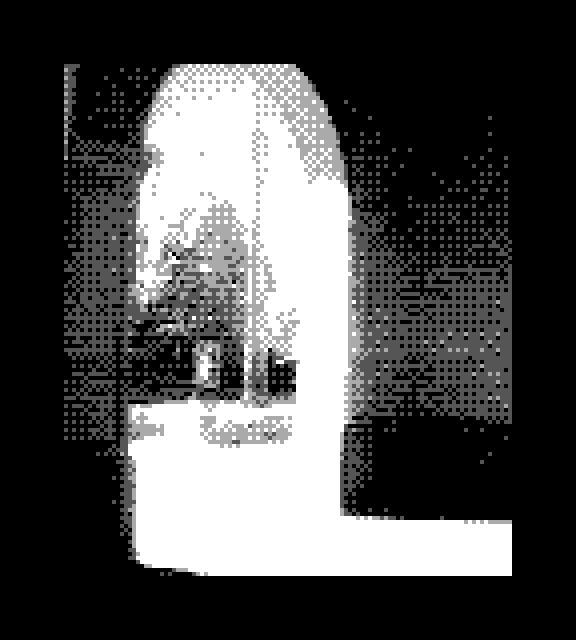
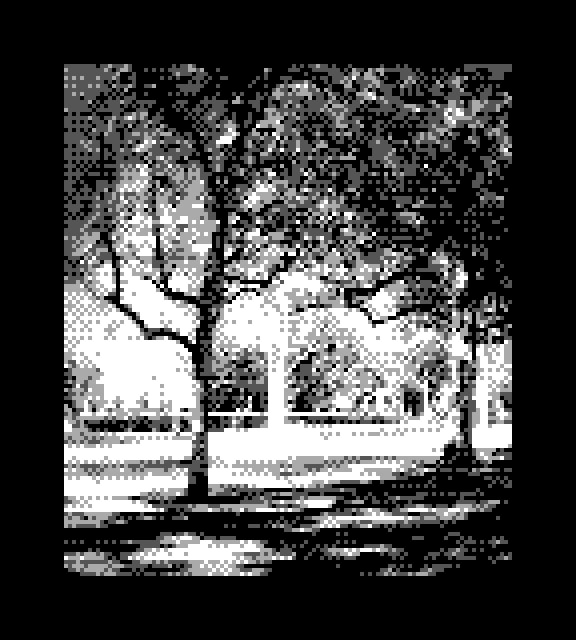
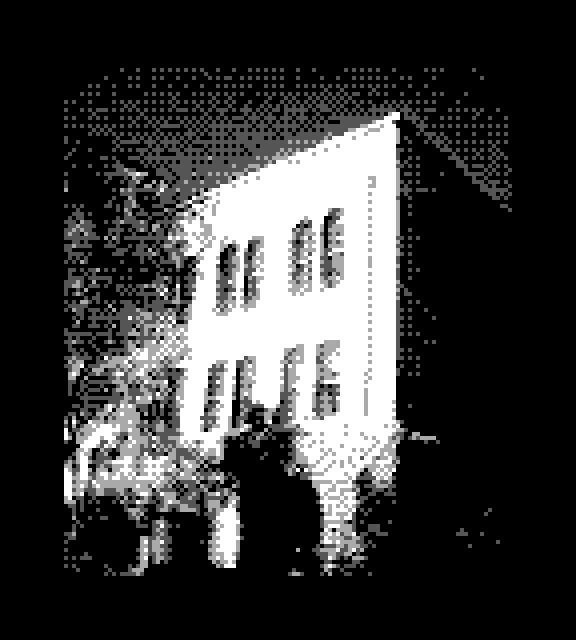
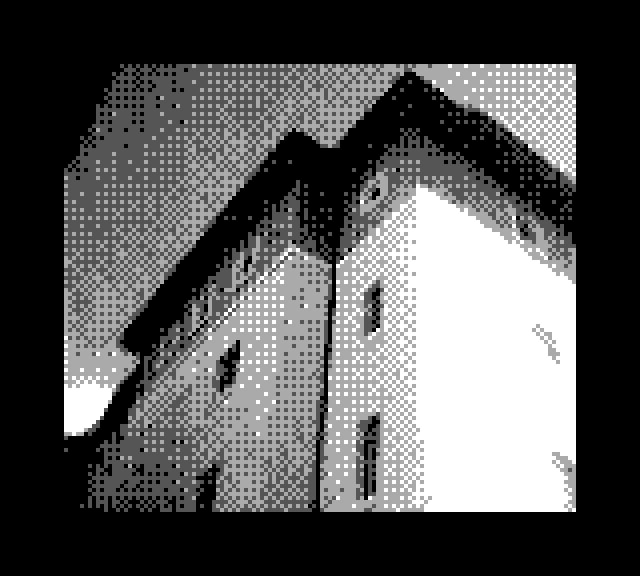
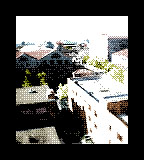
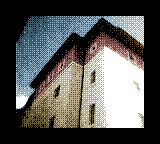
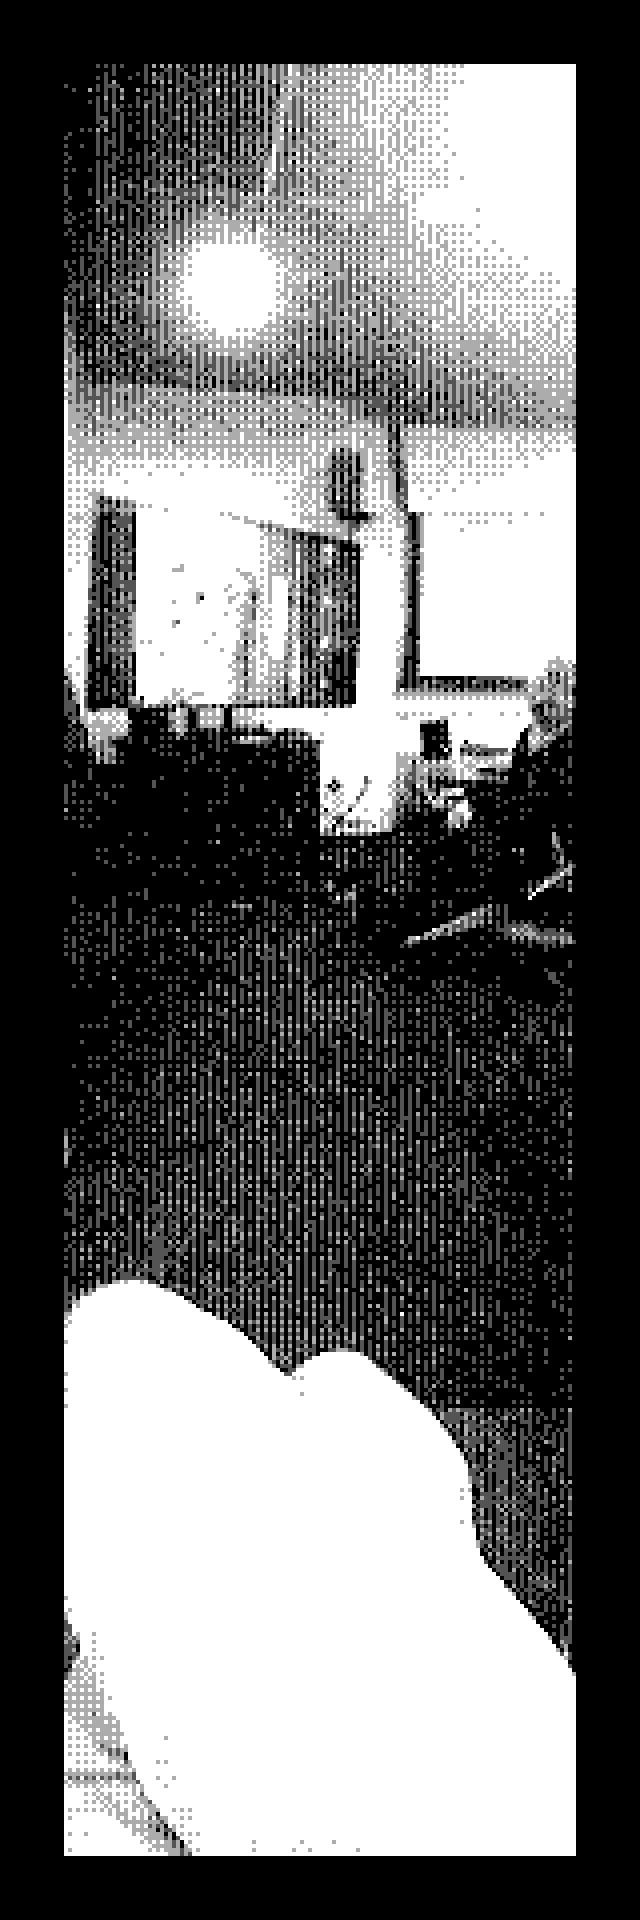
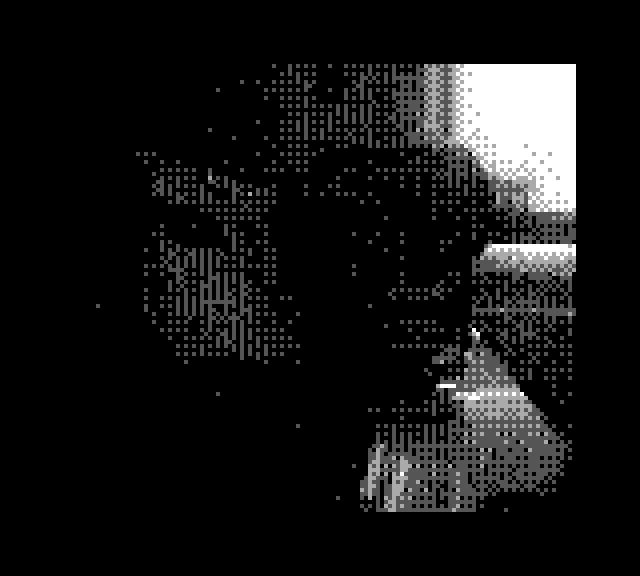
The Gameboy Camera is the lowest-resoltuion digital camera I own, at 128 x 112 pixels. It is a cartridge that plugs into the original Gameboy, and it takes dithered 2-bit photos (there are four shades of gray). Because the resolution is so low, any details get lost pretty easily, especially in the distance. So I tend to just take either close-up photos or photos of buildings from a medium distance.
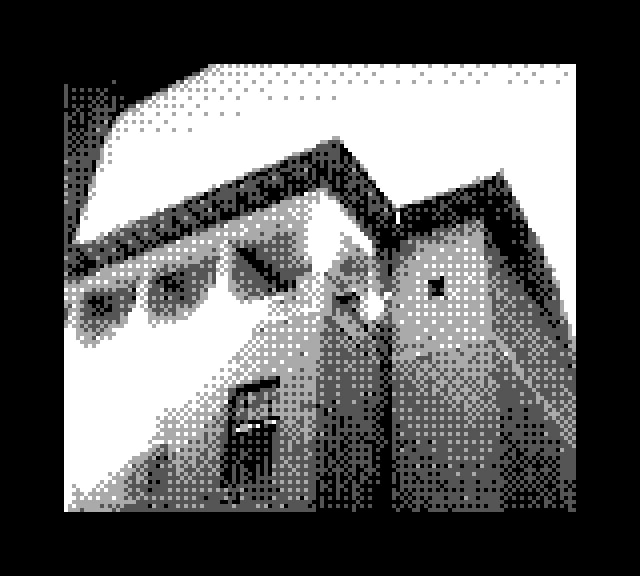
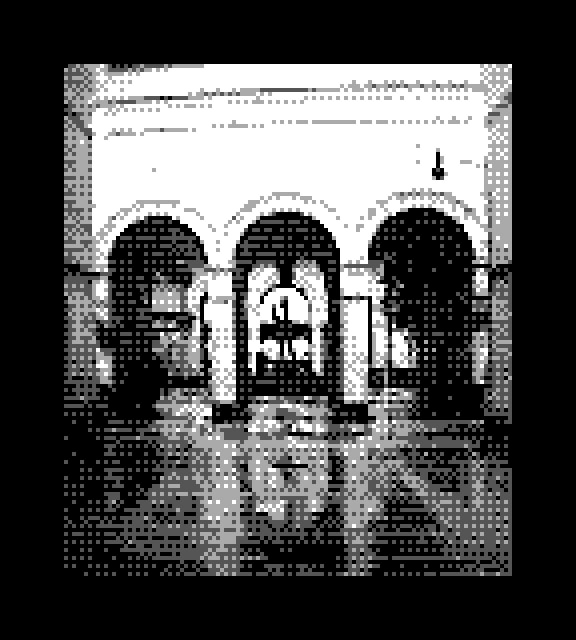
I like to colorize my Gameboy Camera photos to try and get some more contrast and detail into them - which is actually pretty easy, since there aren't that many pixels to color in the first place.
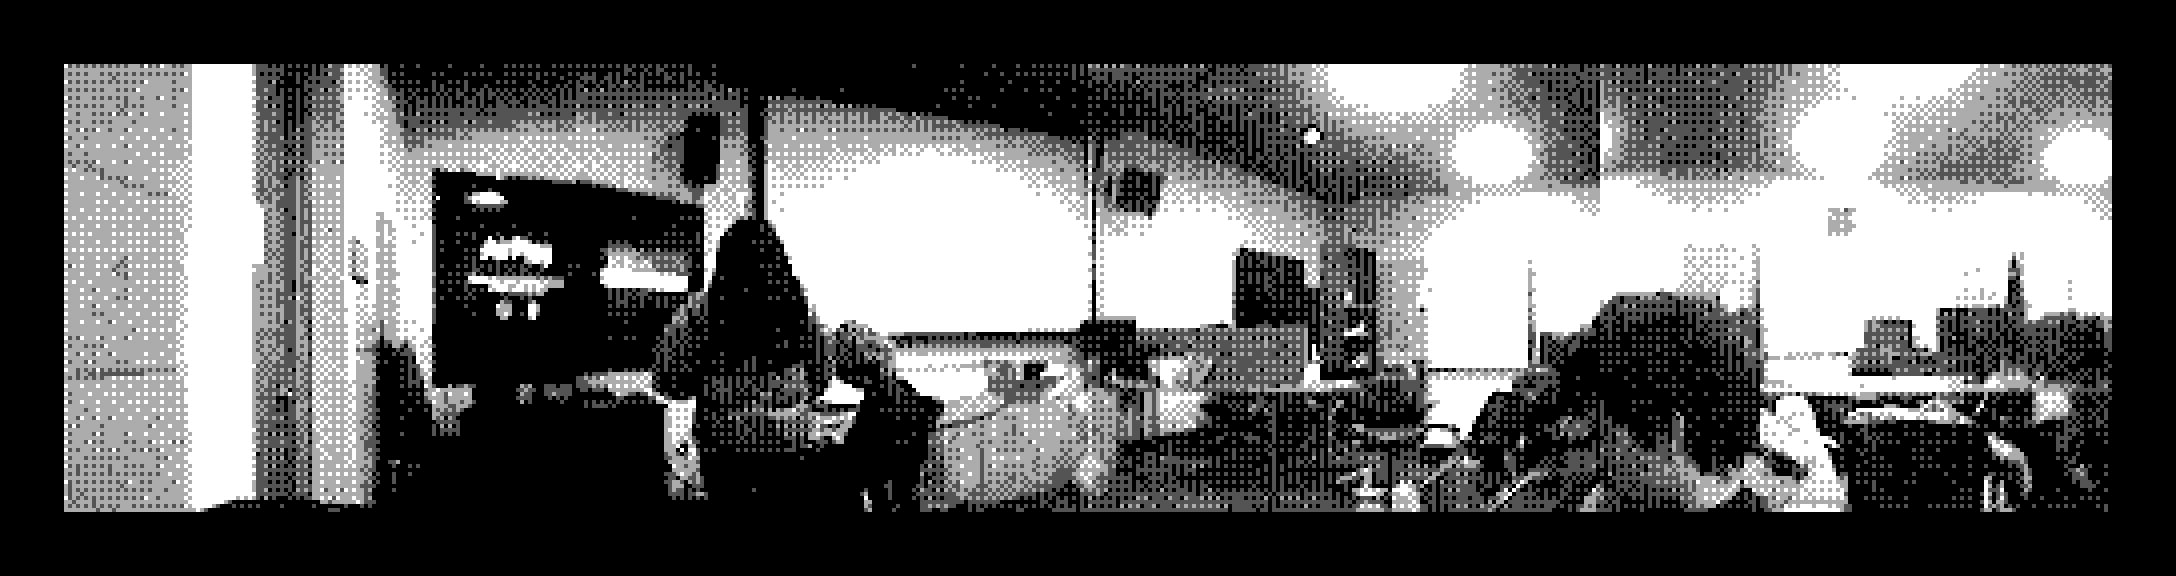
You can also try and squeeze some more quality out of photos by making a panorama. But, because the exposure and other settings are all automatic, it's hard to make a smooth transition between frames, and there tends to be a hard edge where one ends and the next begins.
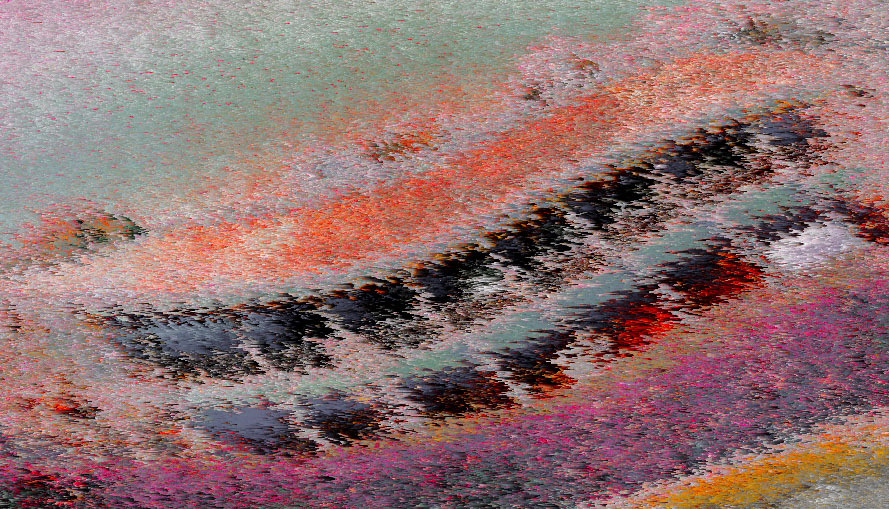
Trichrome
Trichroming is an extremely old photography technique dating back to the time before color film had even been invented. The basic idea is that, by taking three black-and-white photos of the same subject through three different color filters, and then combining those three images, you can actually get a color photo! Trichroming is a great way to push the limits of unique film stocks and cameras, and is a really cool way to learn about the way that light and film and actually work.
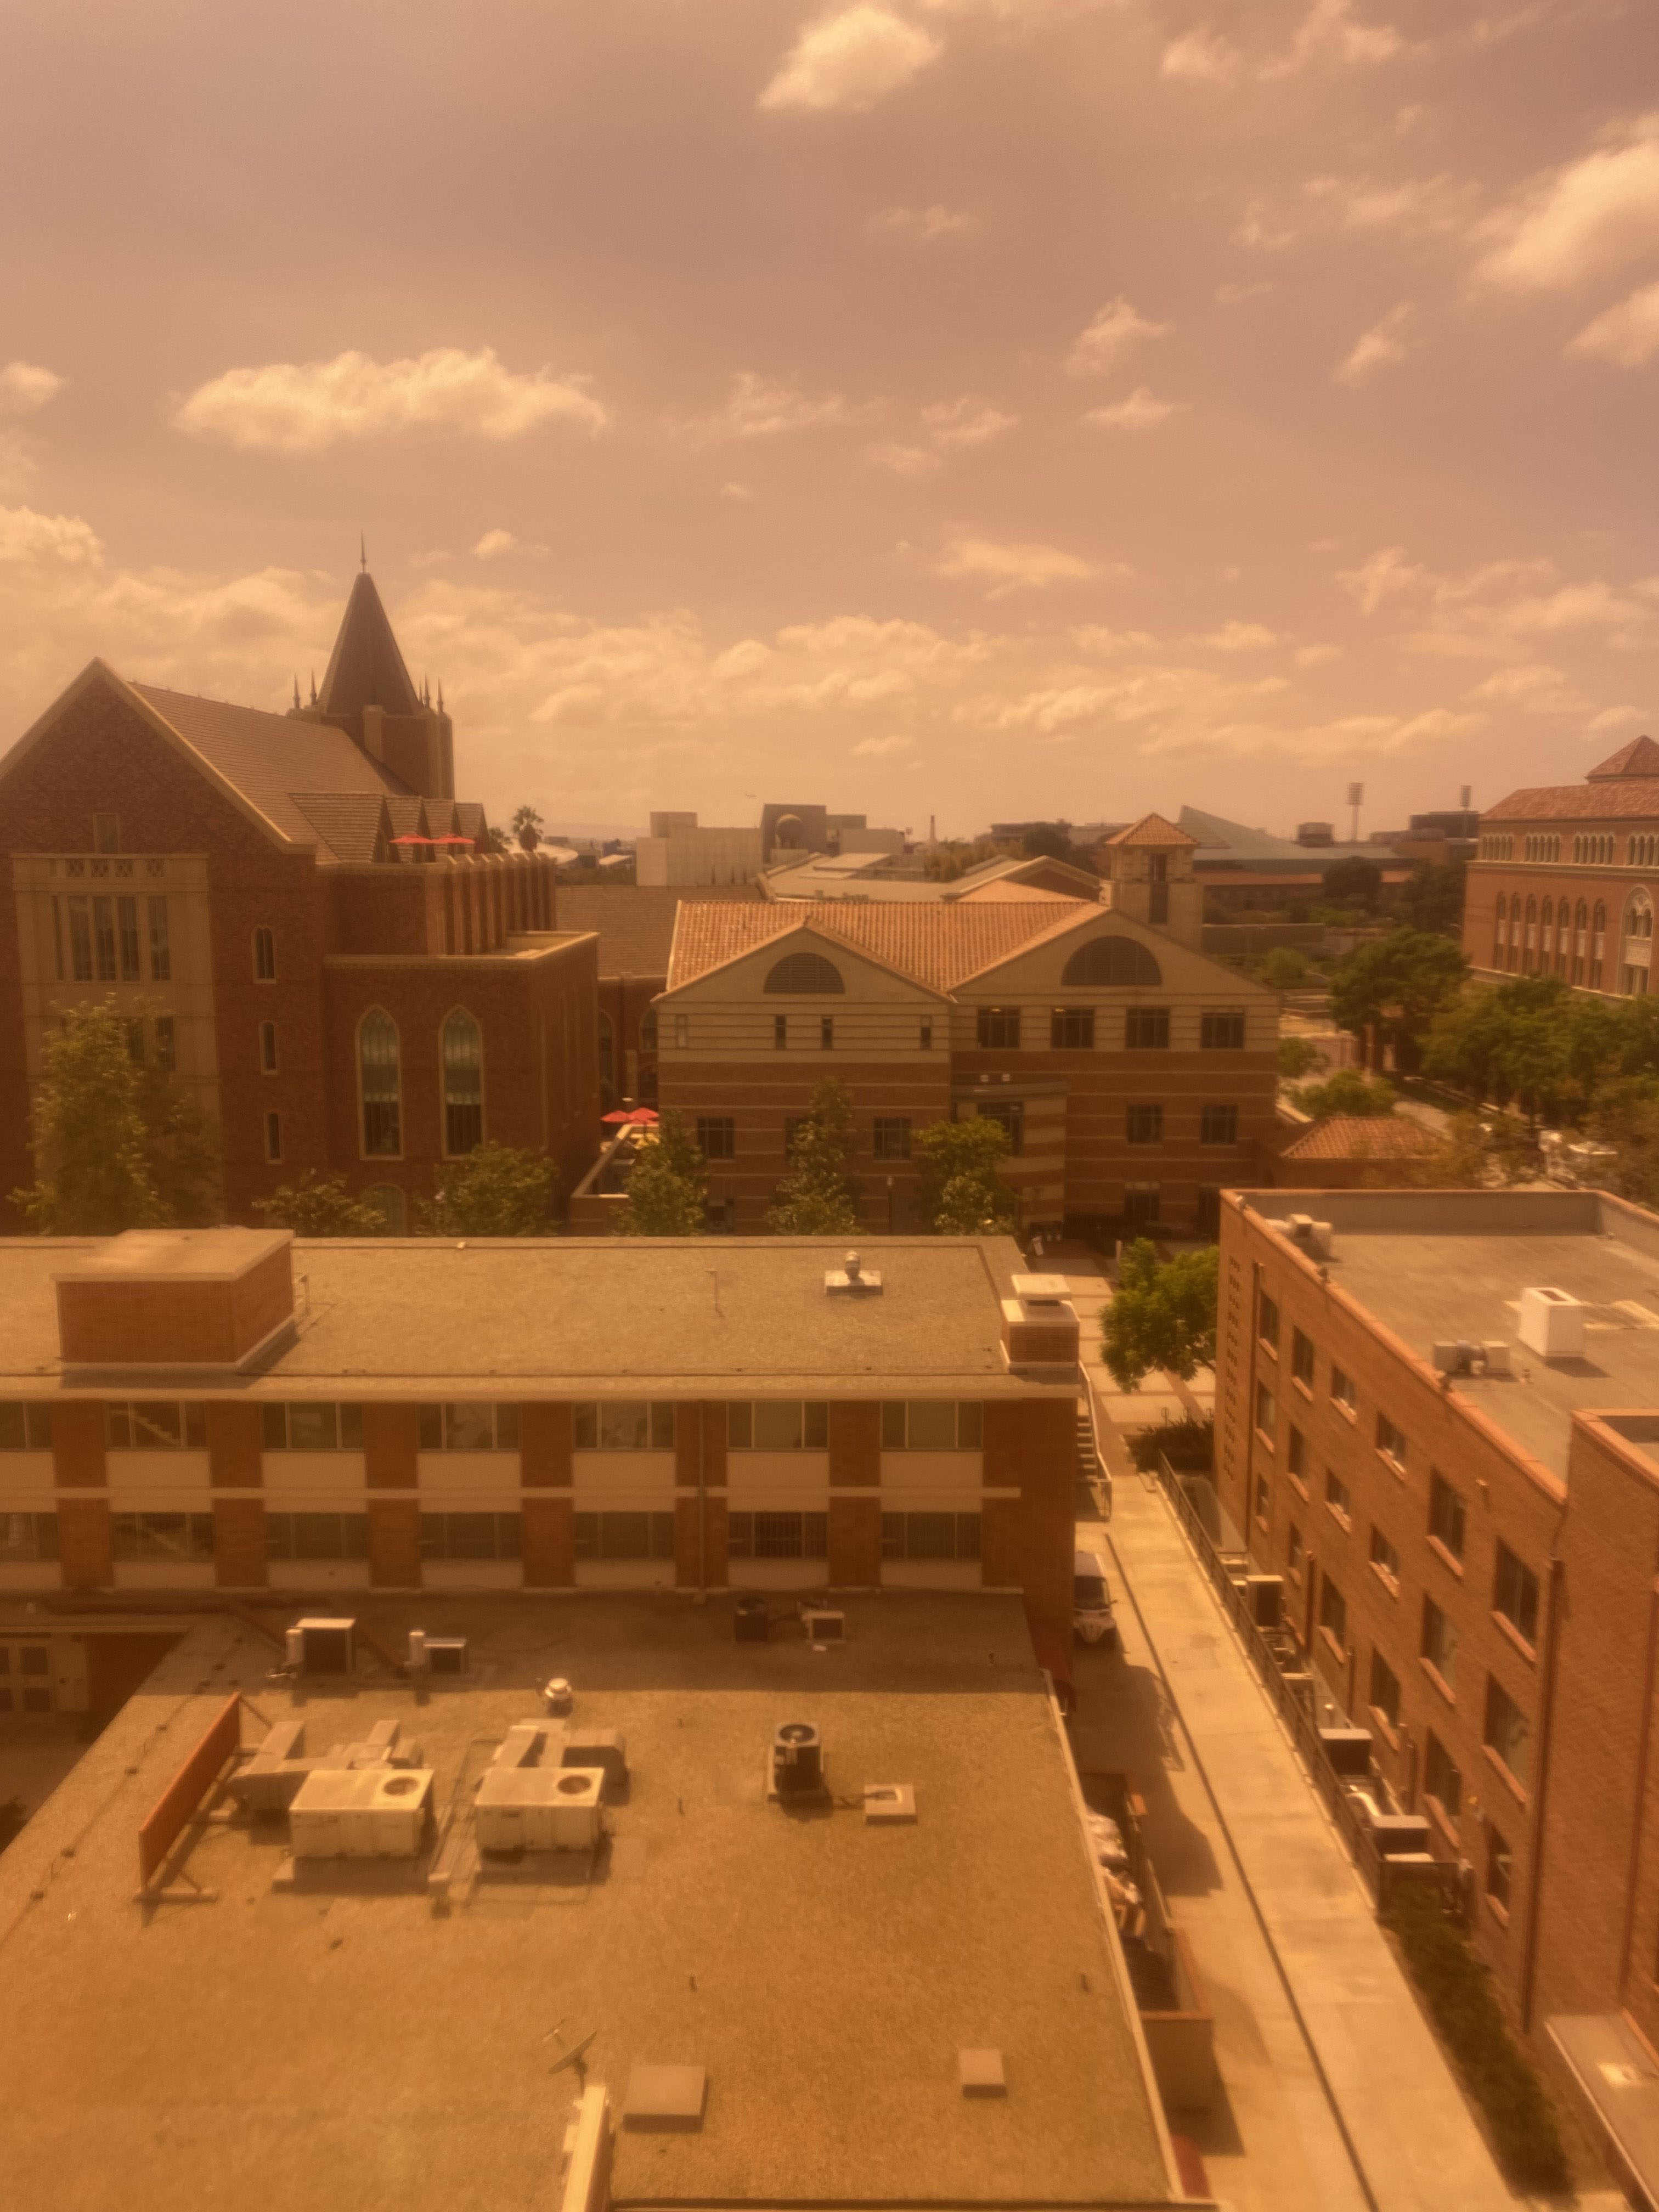
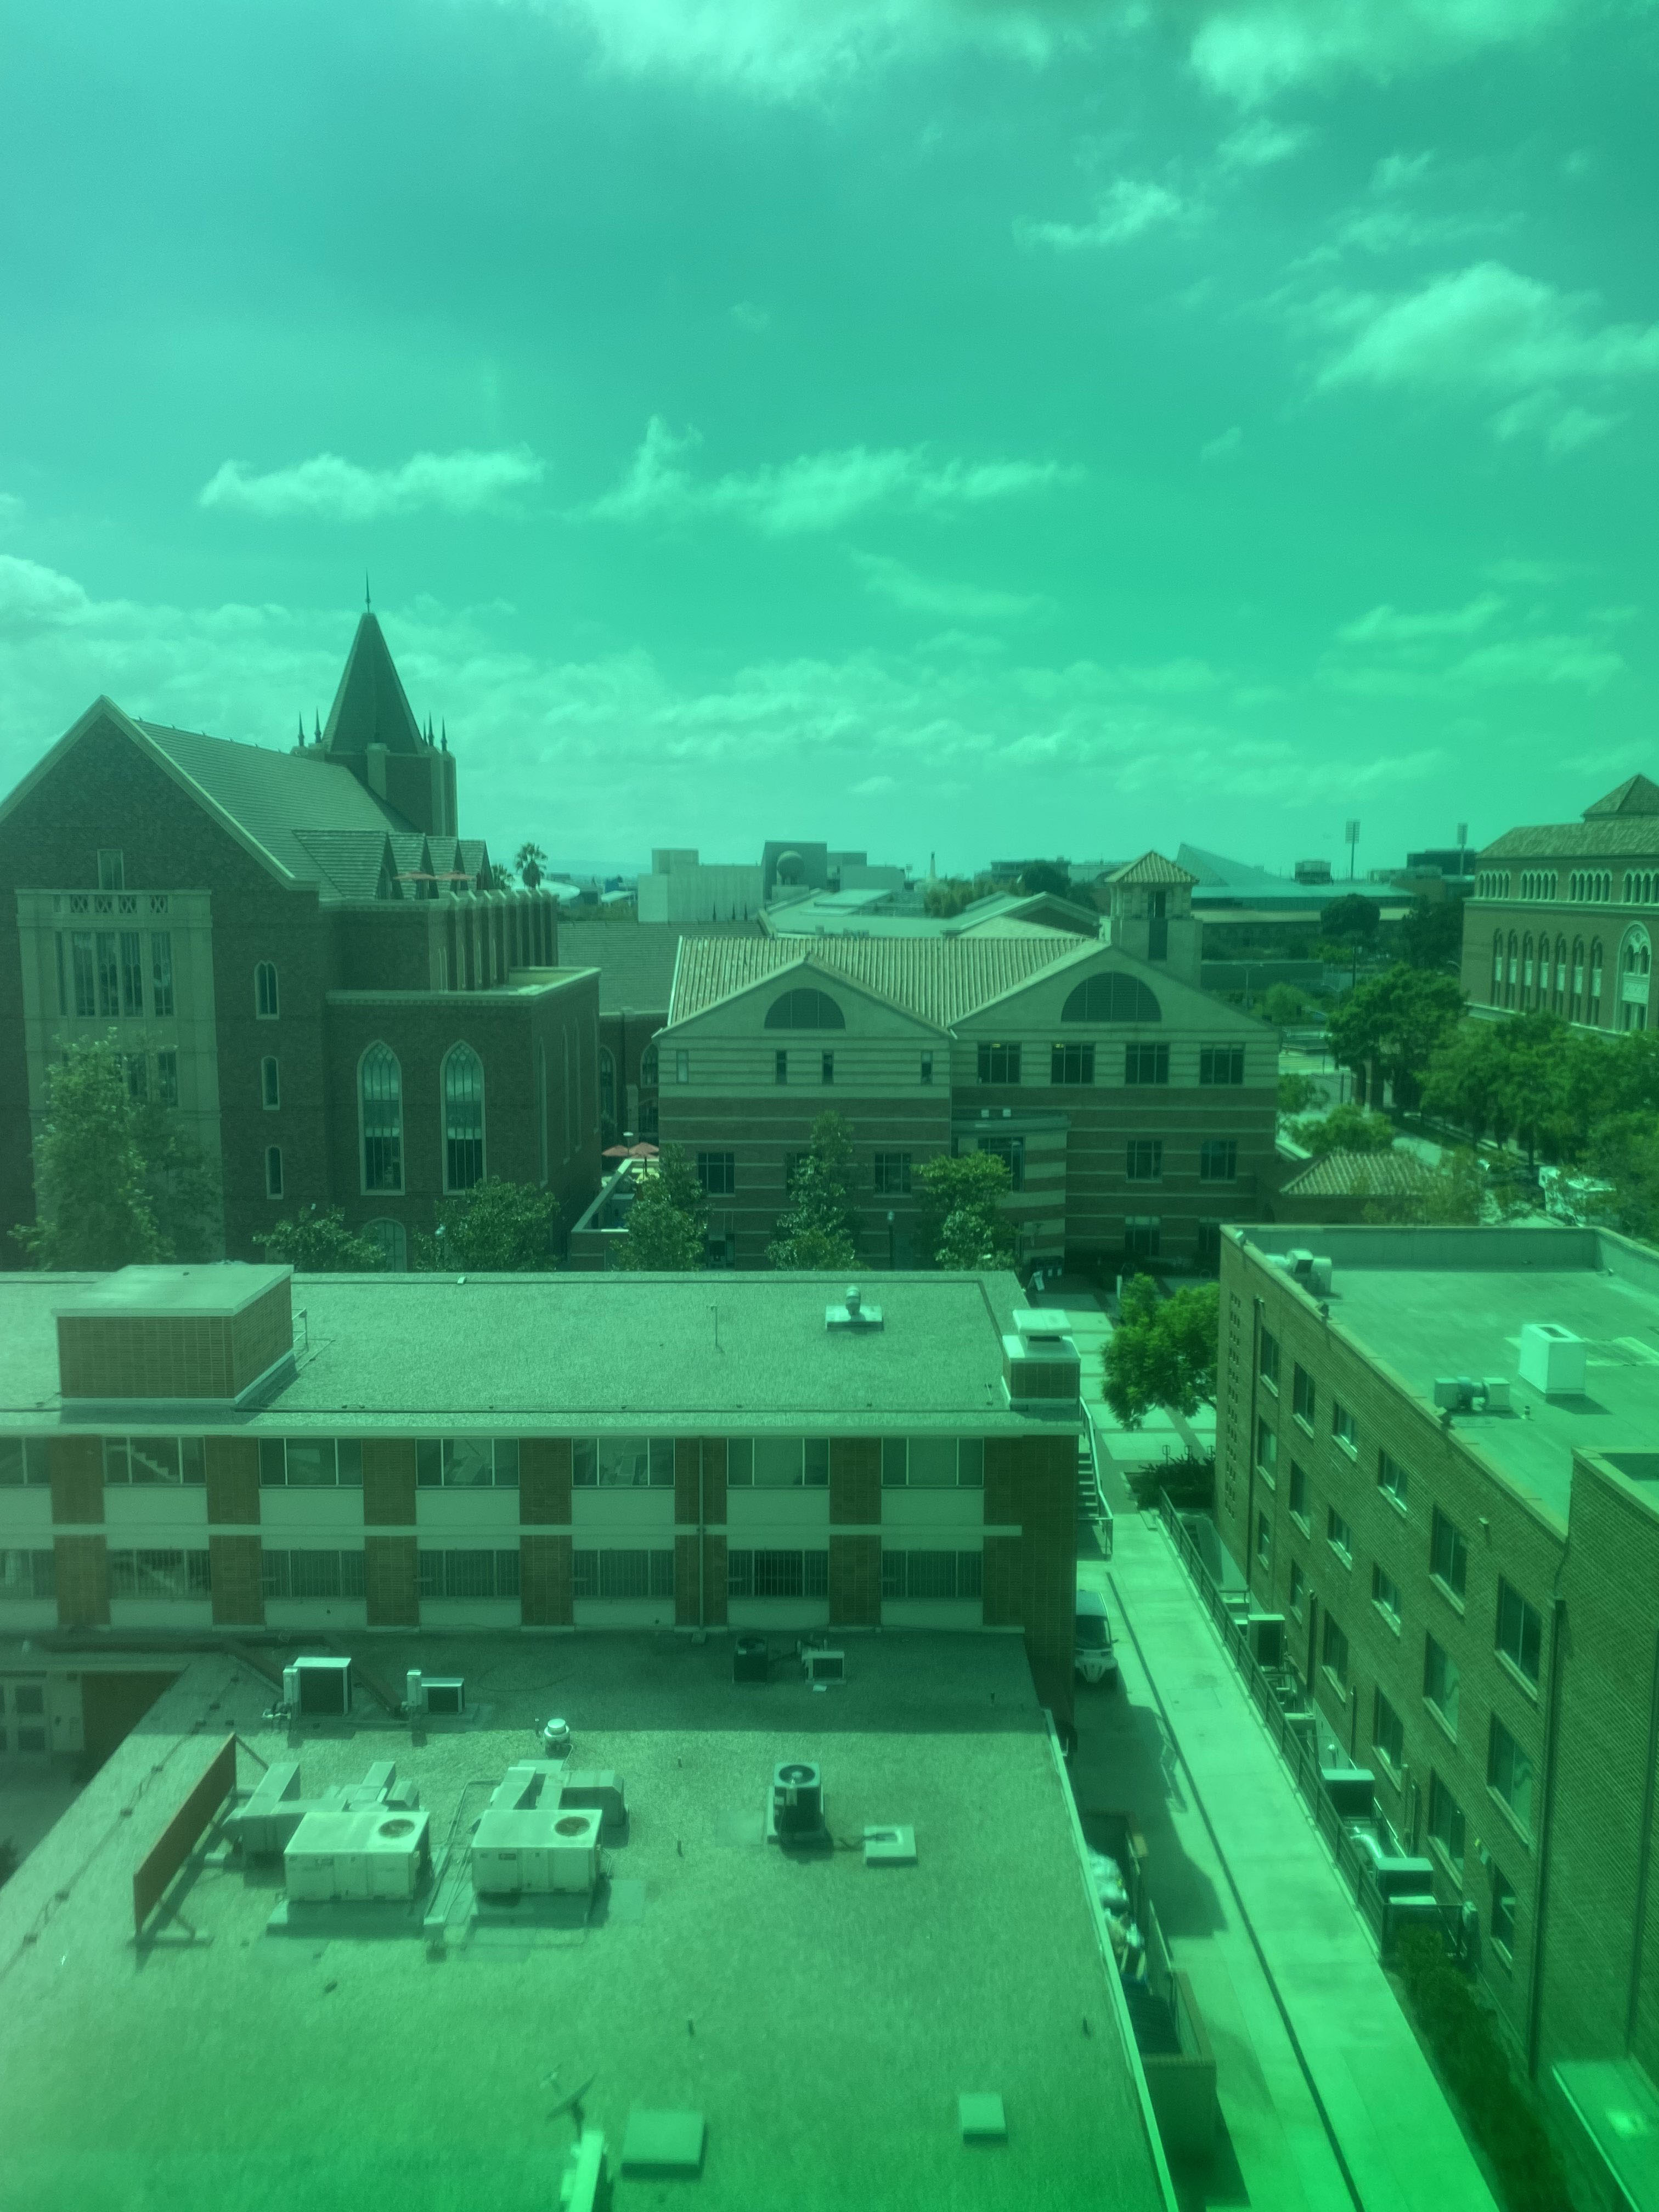
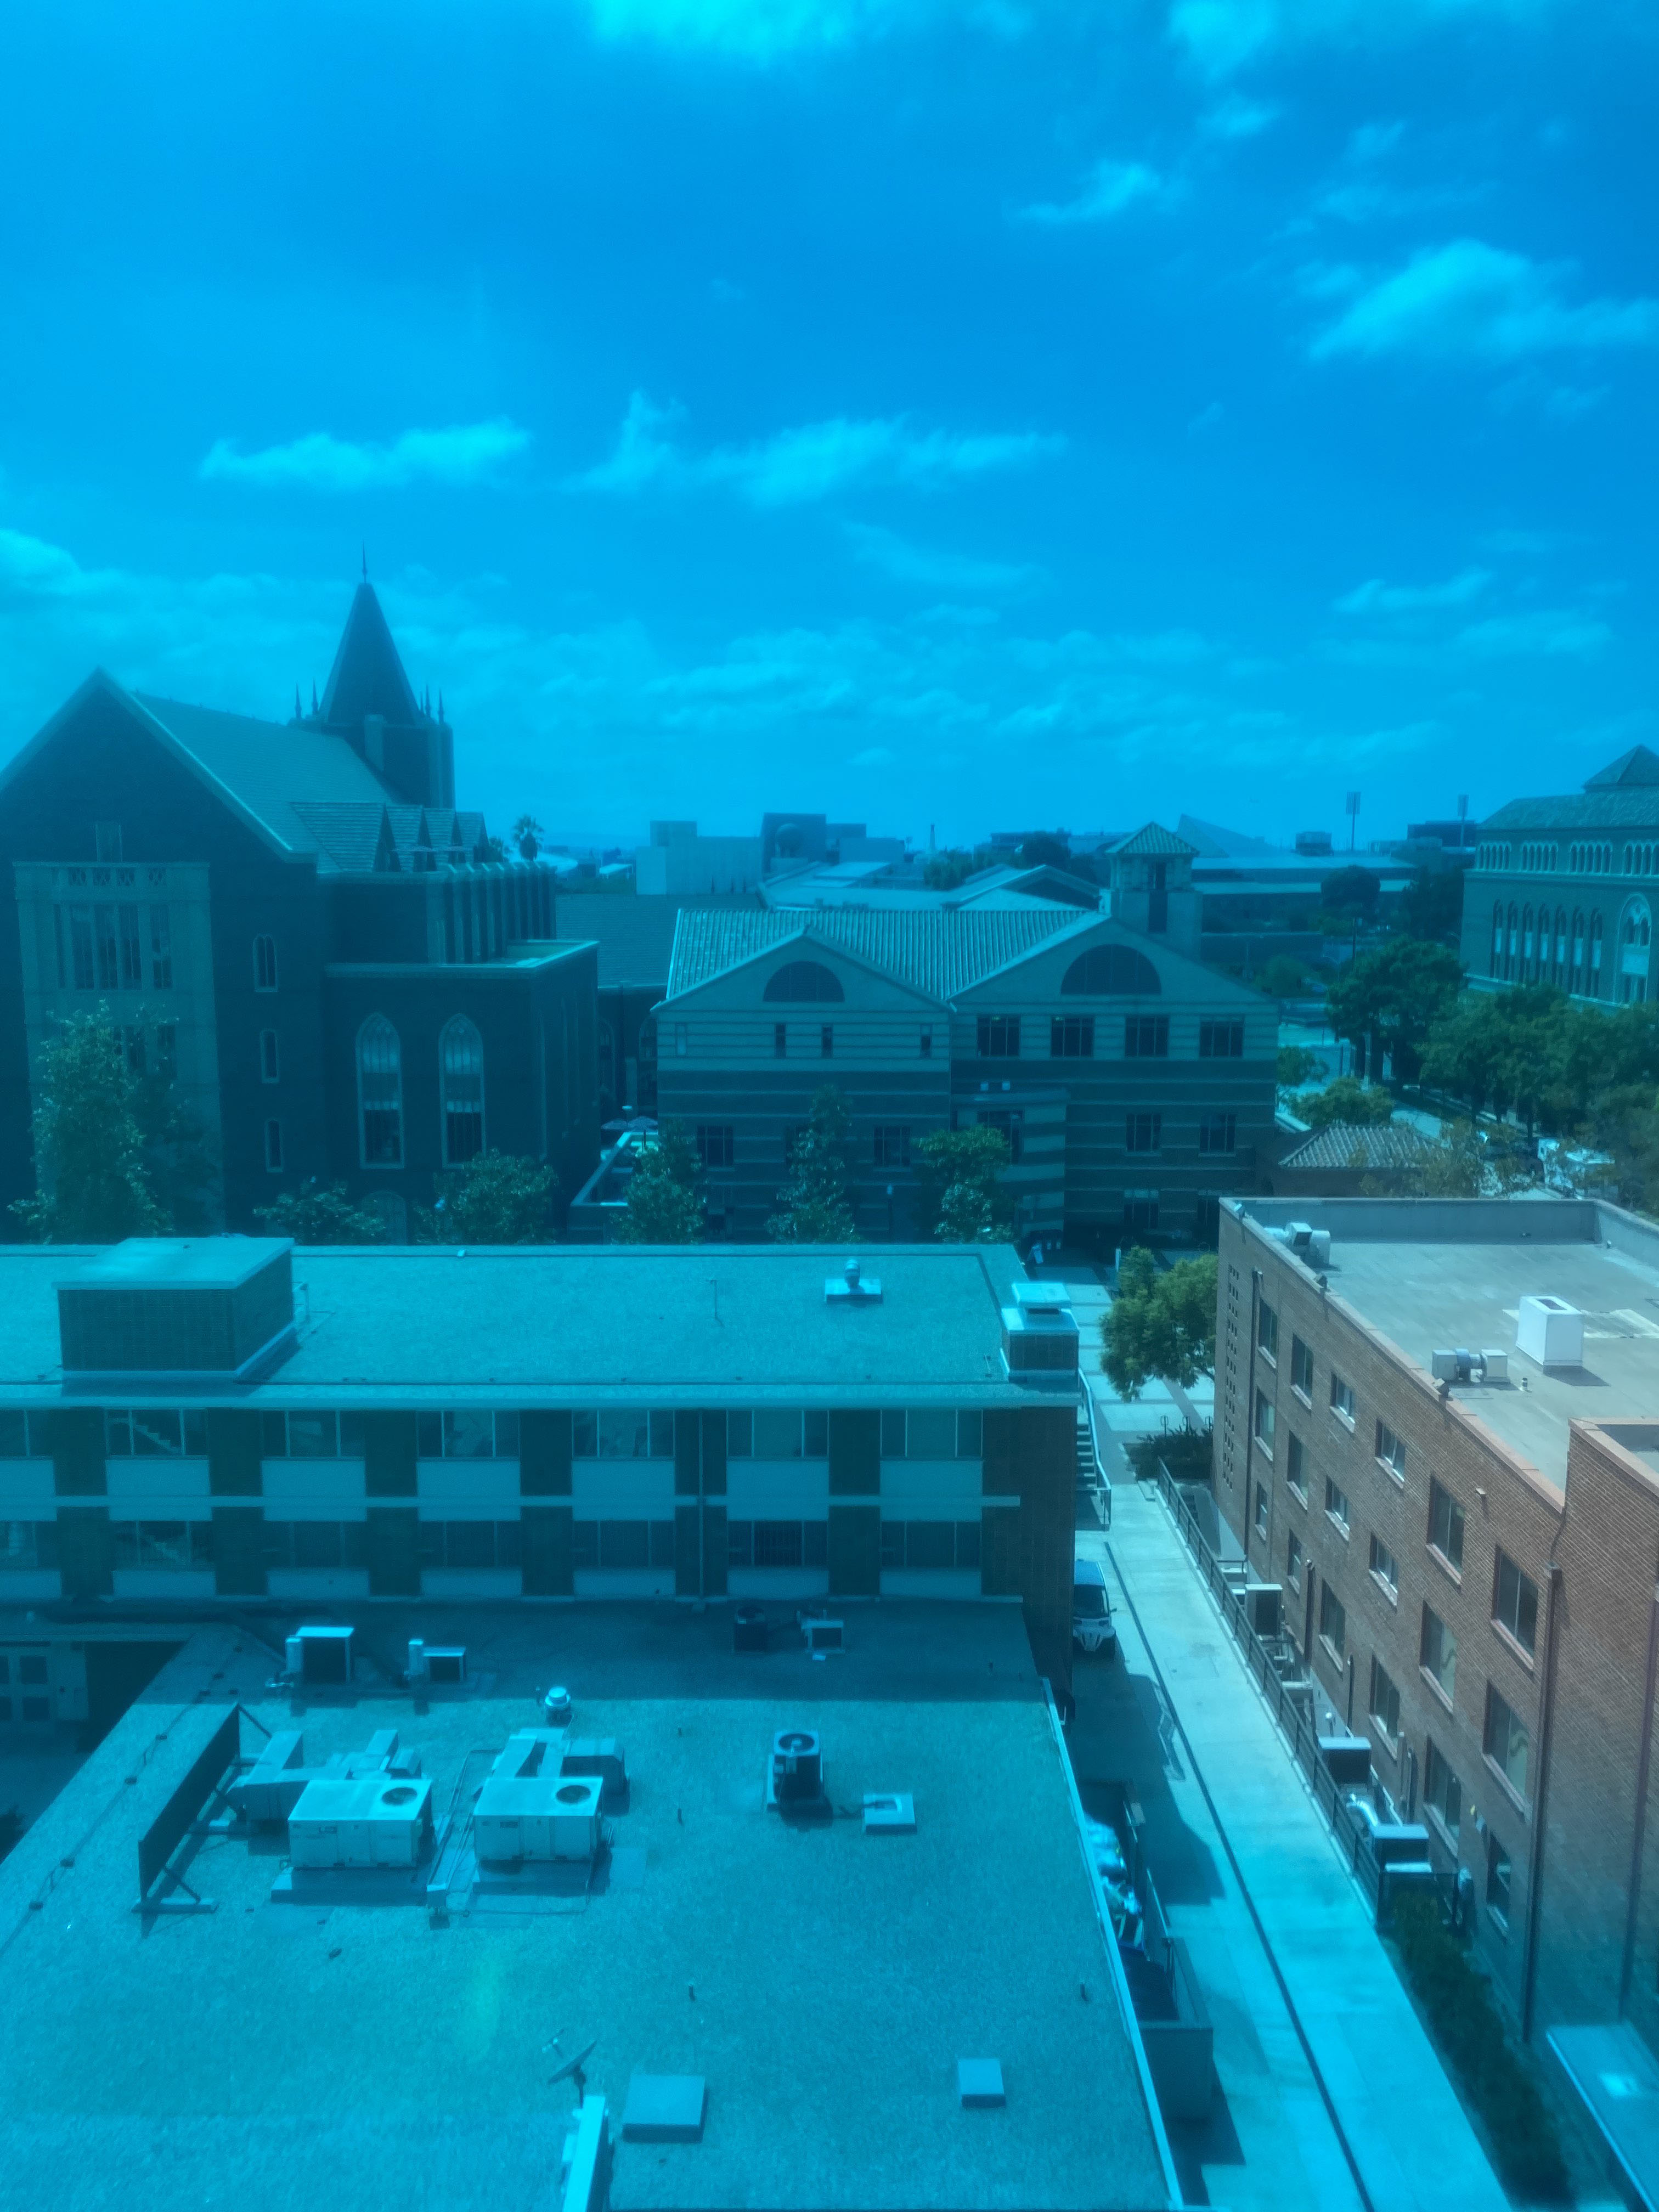
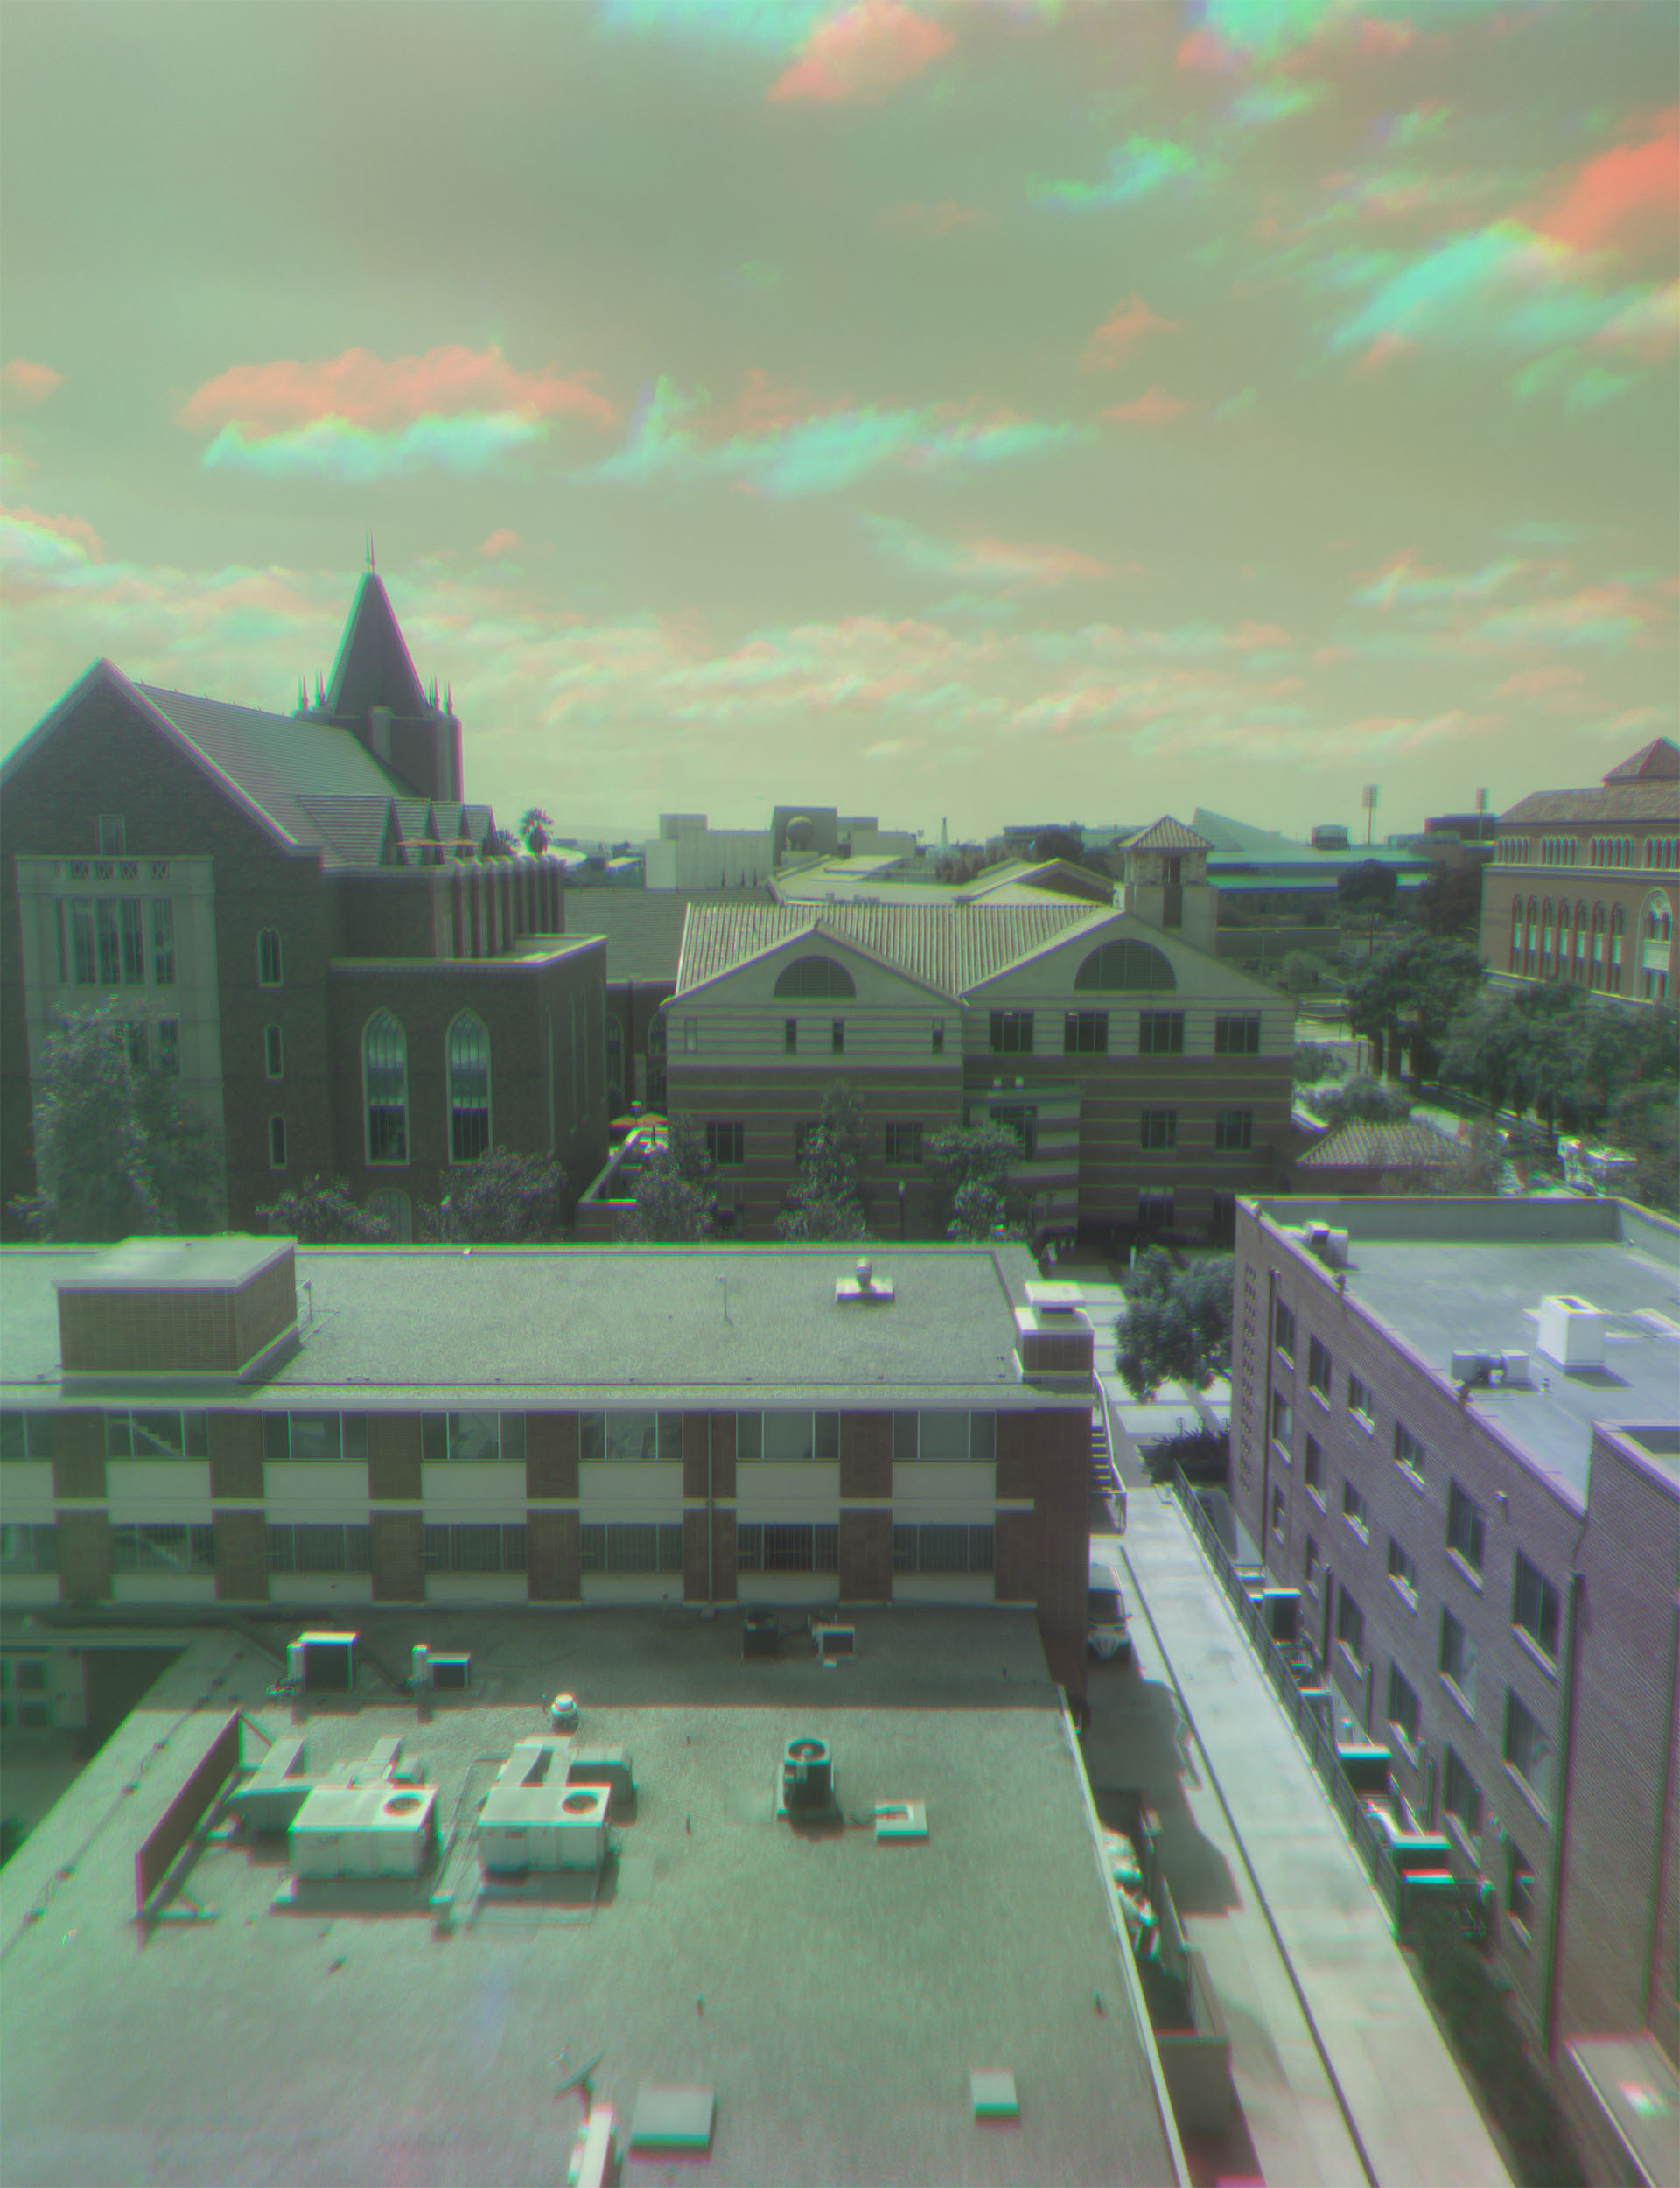
This was a very simple test, using sharpie on clear plastic in place of proper filters, and my iPhone camera which is obviously already capable of color photography. But you can see that, although the final image is pretty desaturated and needs some color correction, the ggeneral color trends are clear - the bricks are a bit more red than the rest of the image, the trees are a bit more green, and the glass roof in the background is more blue.
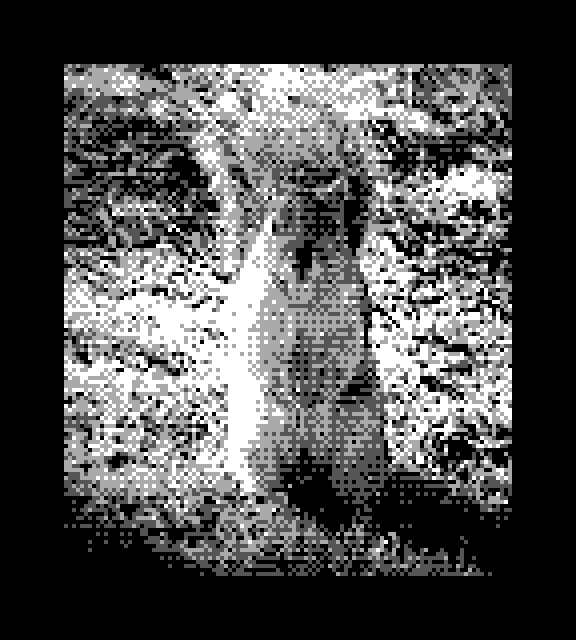
This also shows one of the downsides of trichrome photography - because you're taking three separate images, anything that changes between them, like the clouds, will end up as a colored "ghost" in the final image. This is why handheld trichromes are almost never done, and why it can be hard to shoot even landscapes, because leaves, grass, water, and clouds all move subtly between exposures.
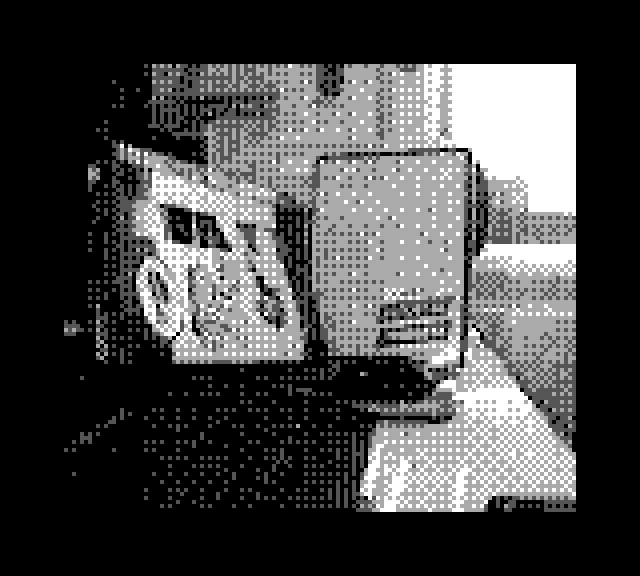
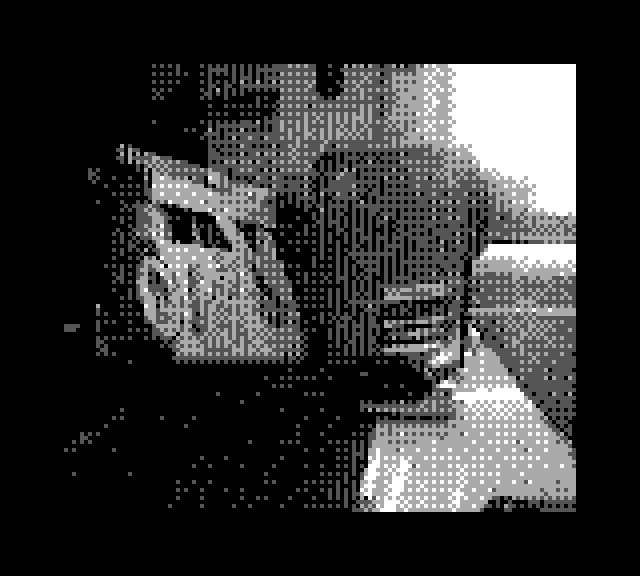
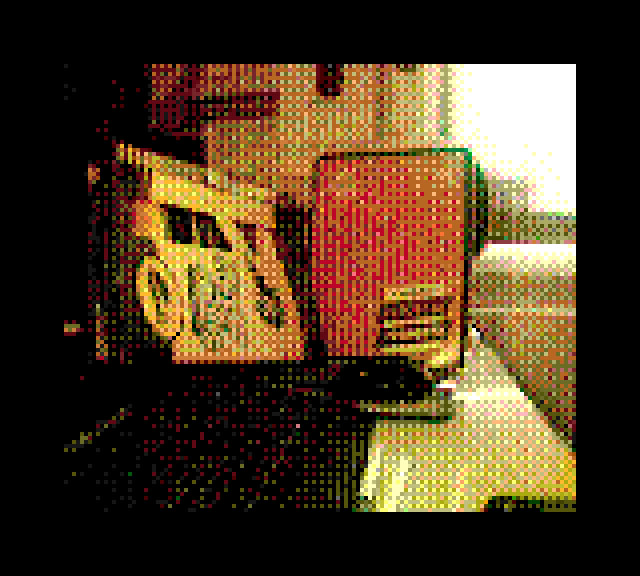
This test, shot on the black-and-white Gameboy Camera, might be clearer. In the final trichromed image, you can see the red notebook, yellow marker box, and bright white light from the window. Then, take a look at each individual image (Red, Green, and Blue, in order.). In the photo taken through the red filter, there is plenty of light from the window, on the notebook, and on the marker box. In the photo taken through the green filter, there is not much light on the notebook (because red light would be blocked by a green filter), some on the crayon box (making the yellow in the final image), and still plenty from the window. Finally, in the image taken through the blue filter, there is not much light except from the window - and red, green, and blue light combine to make the window look white!
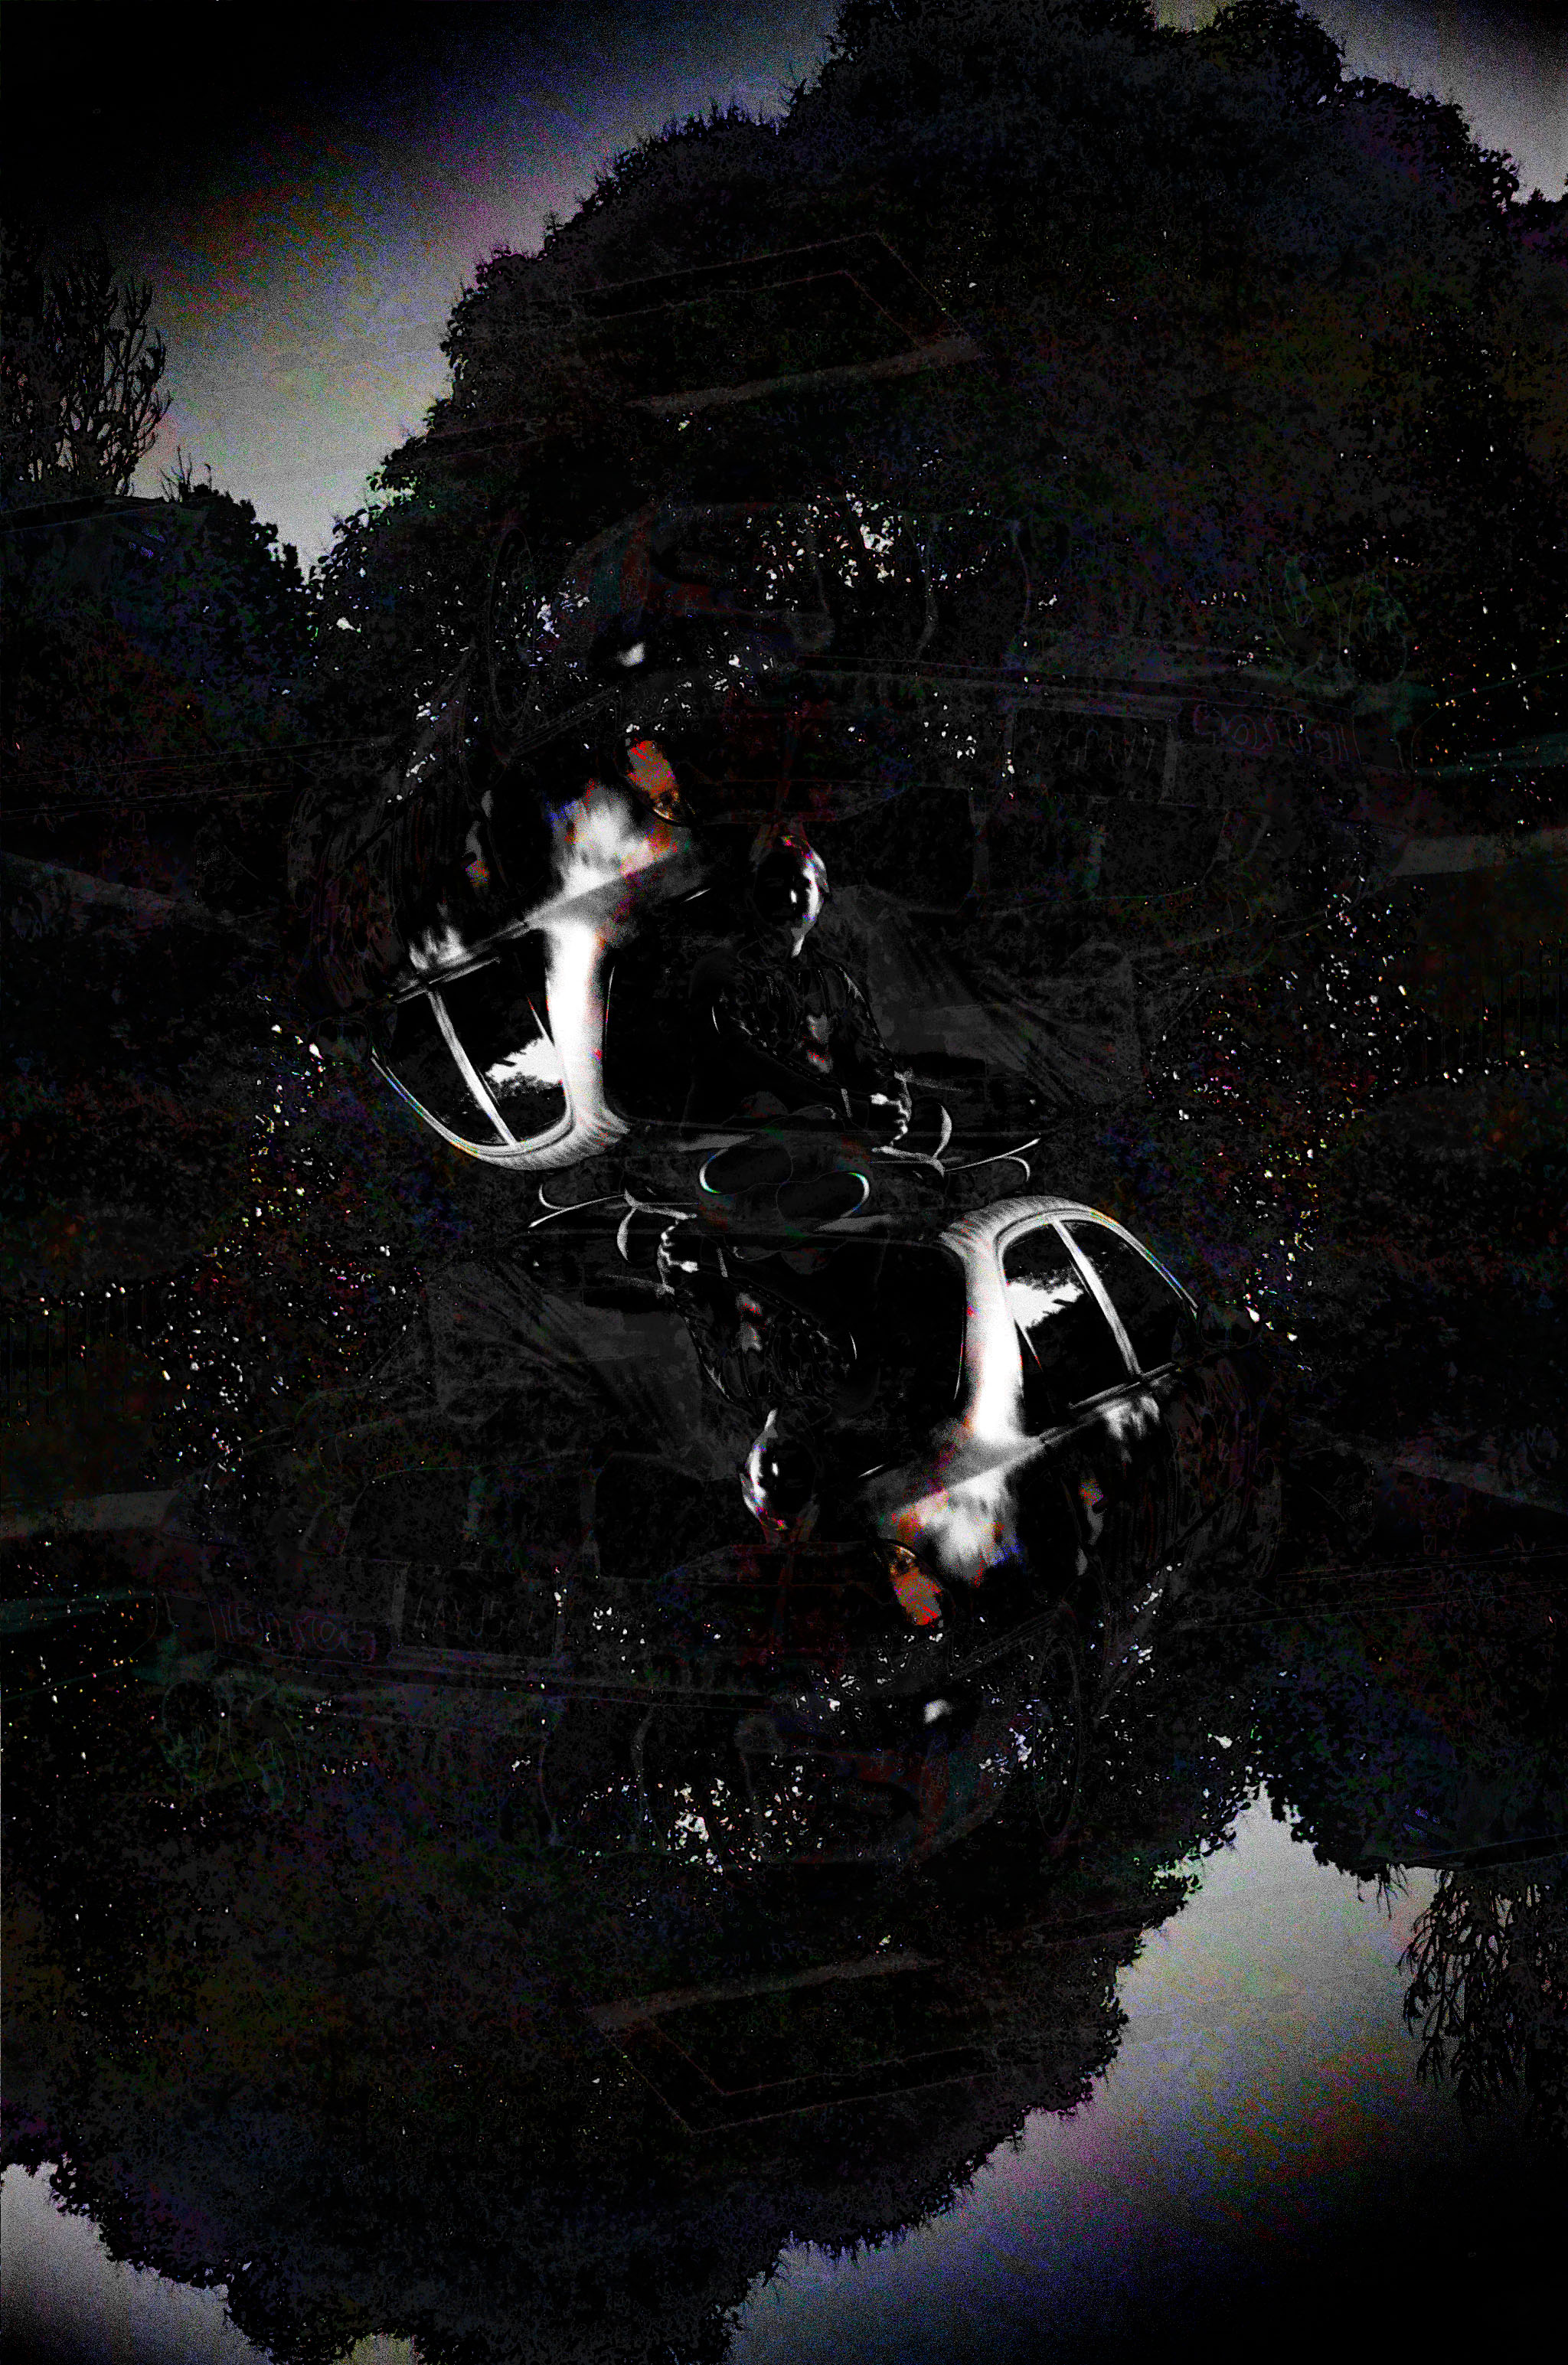
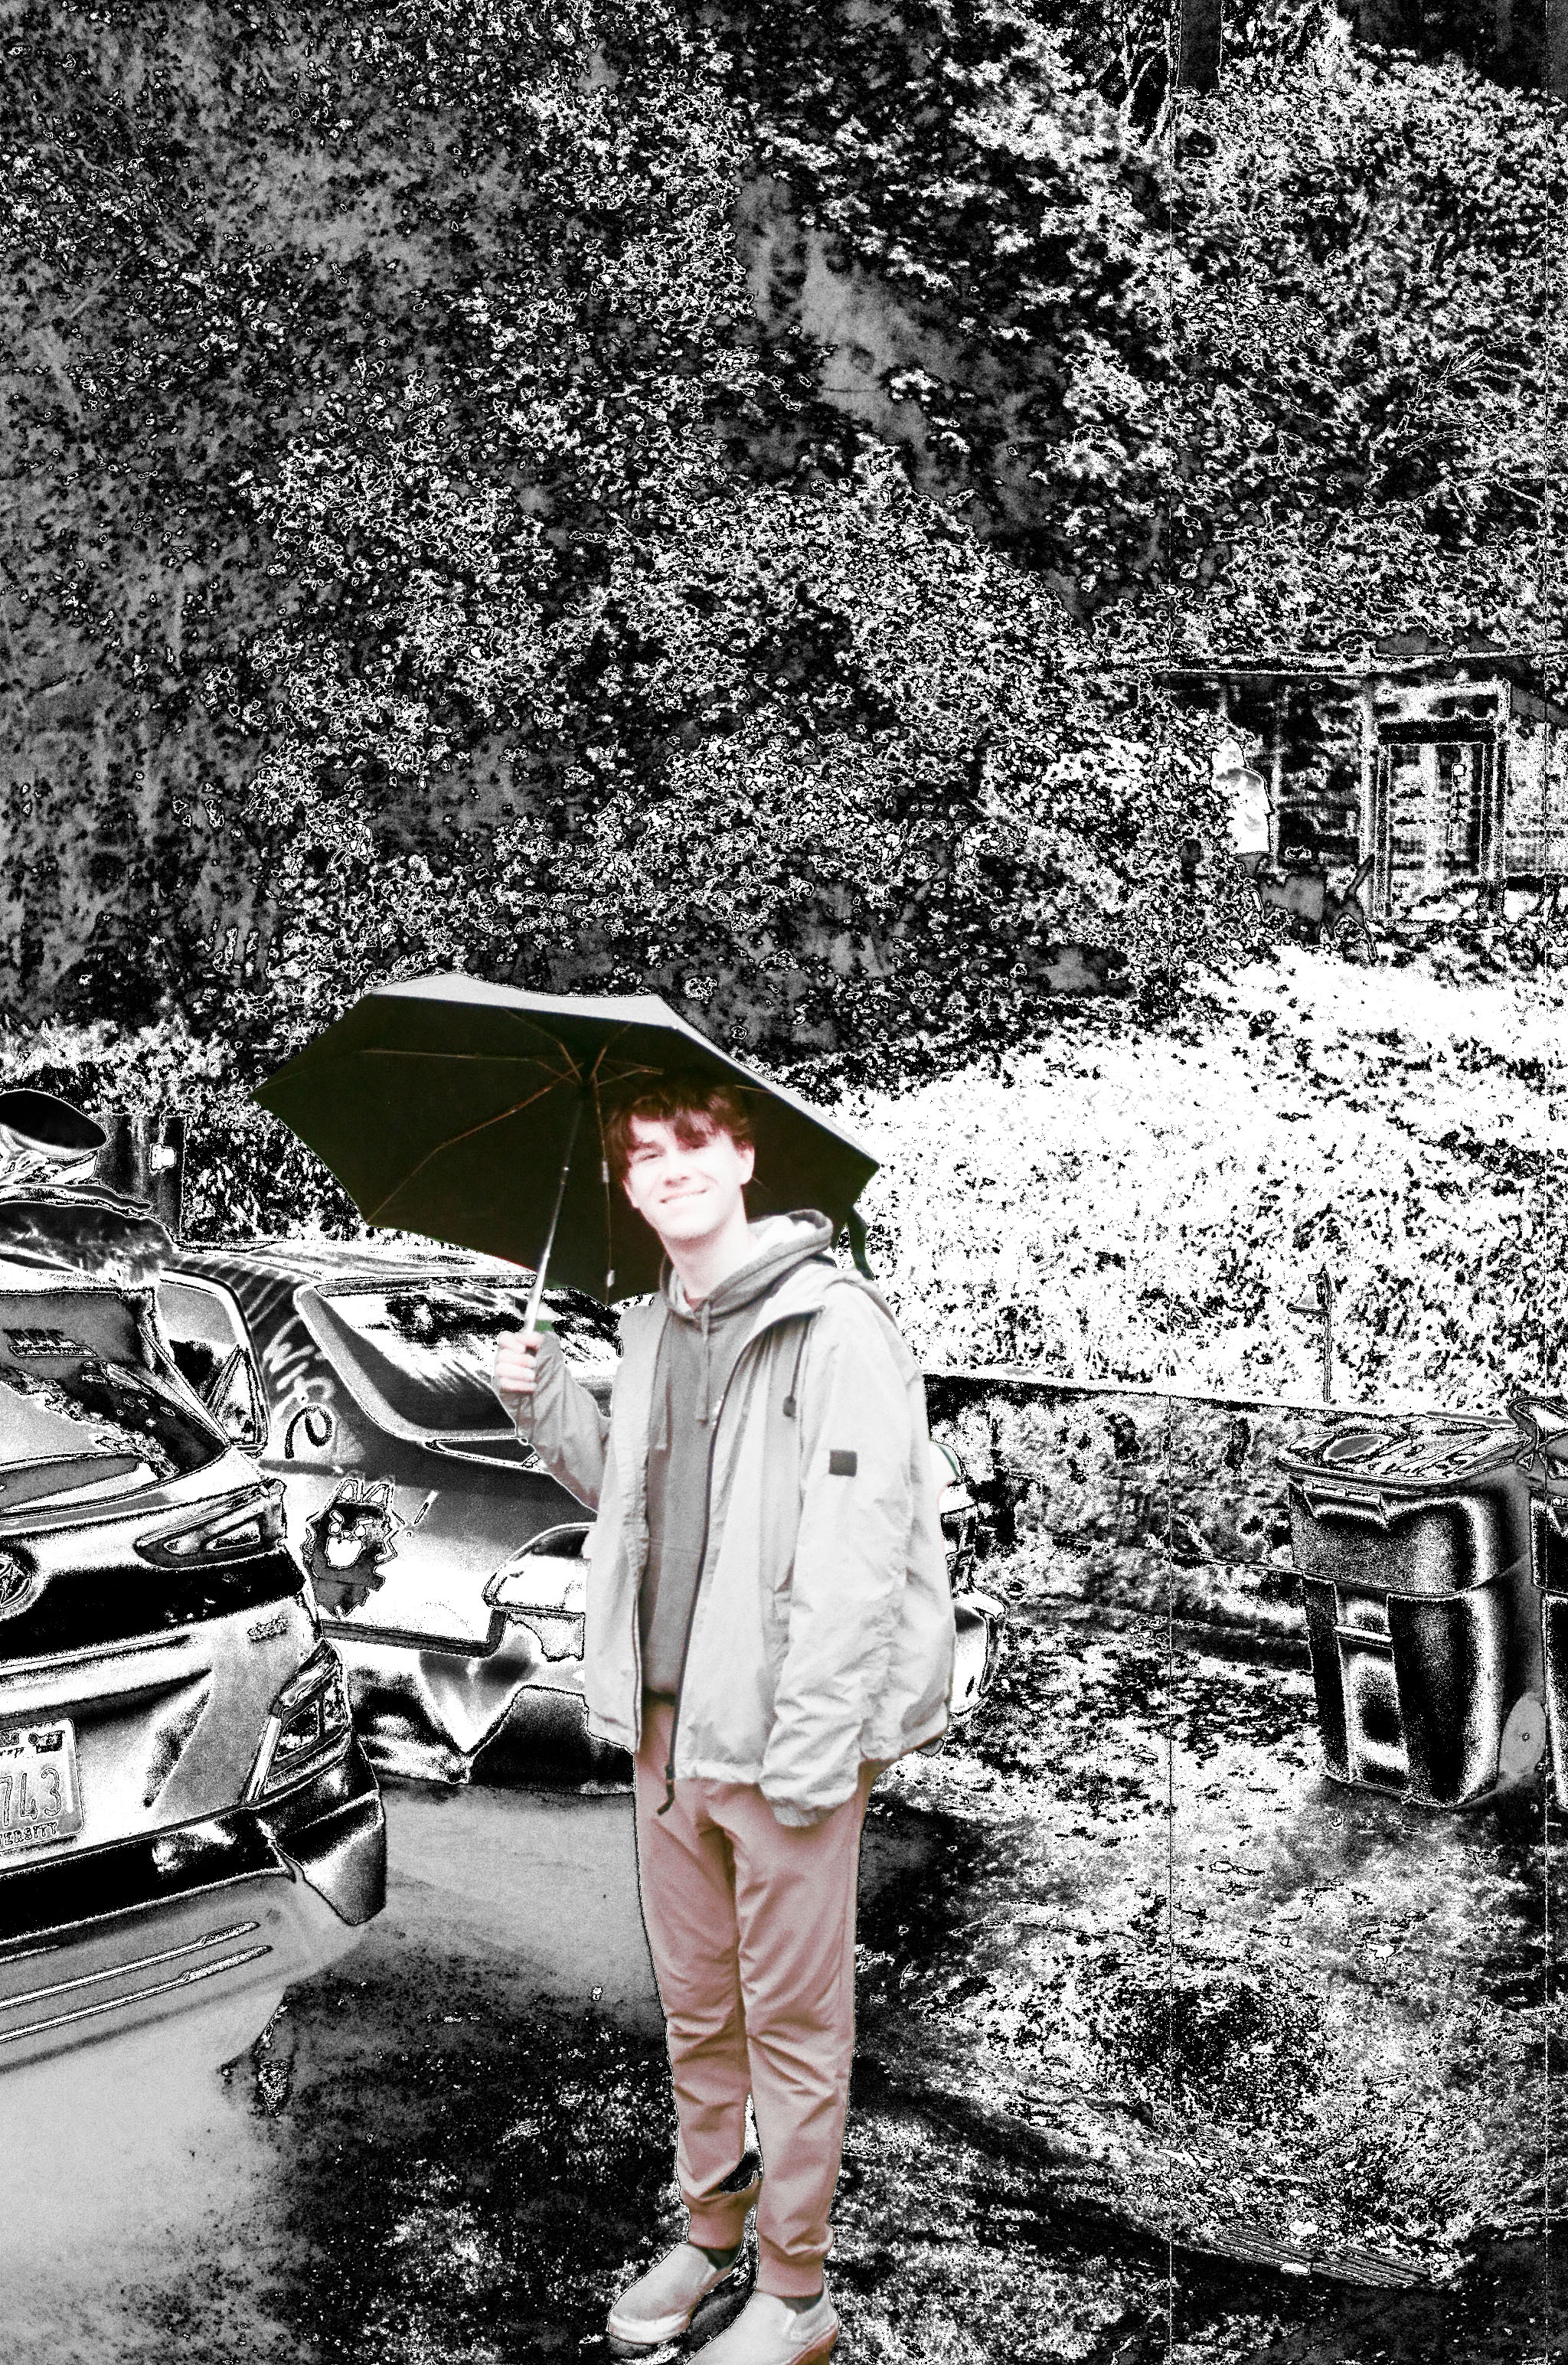
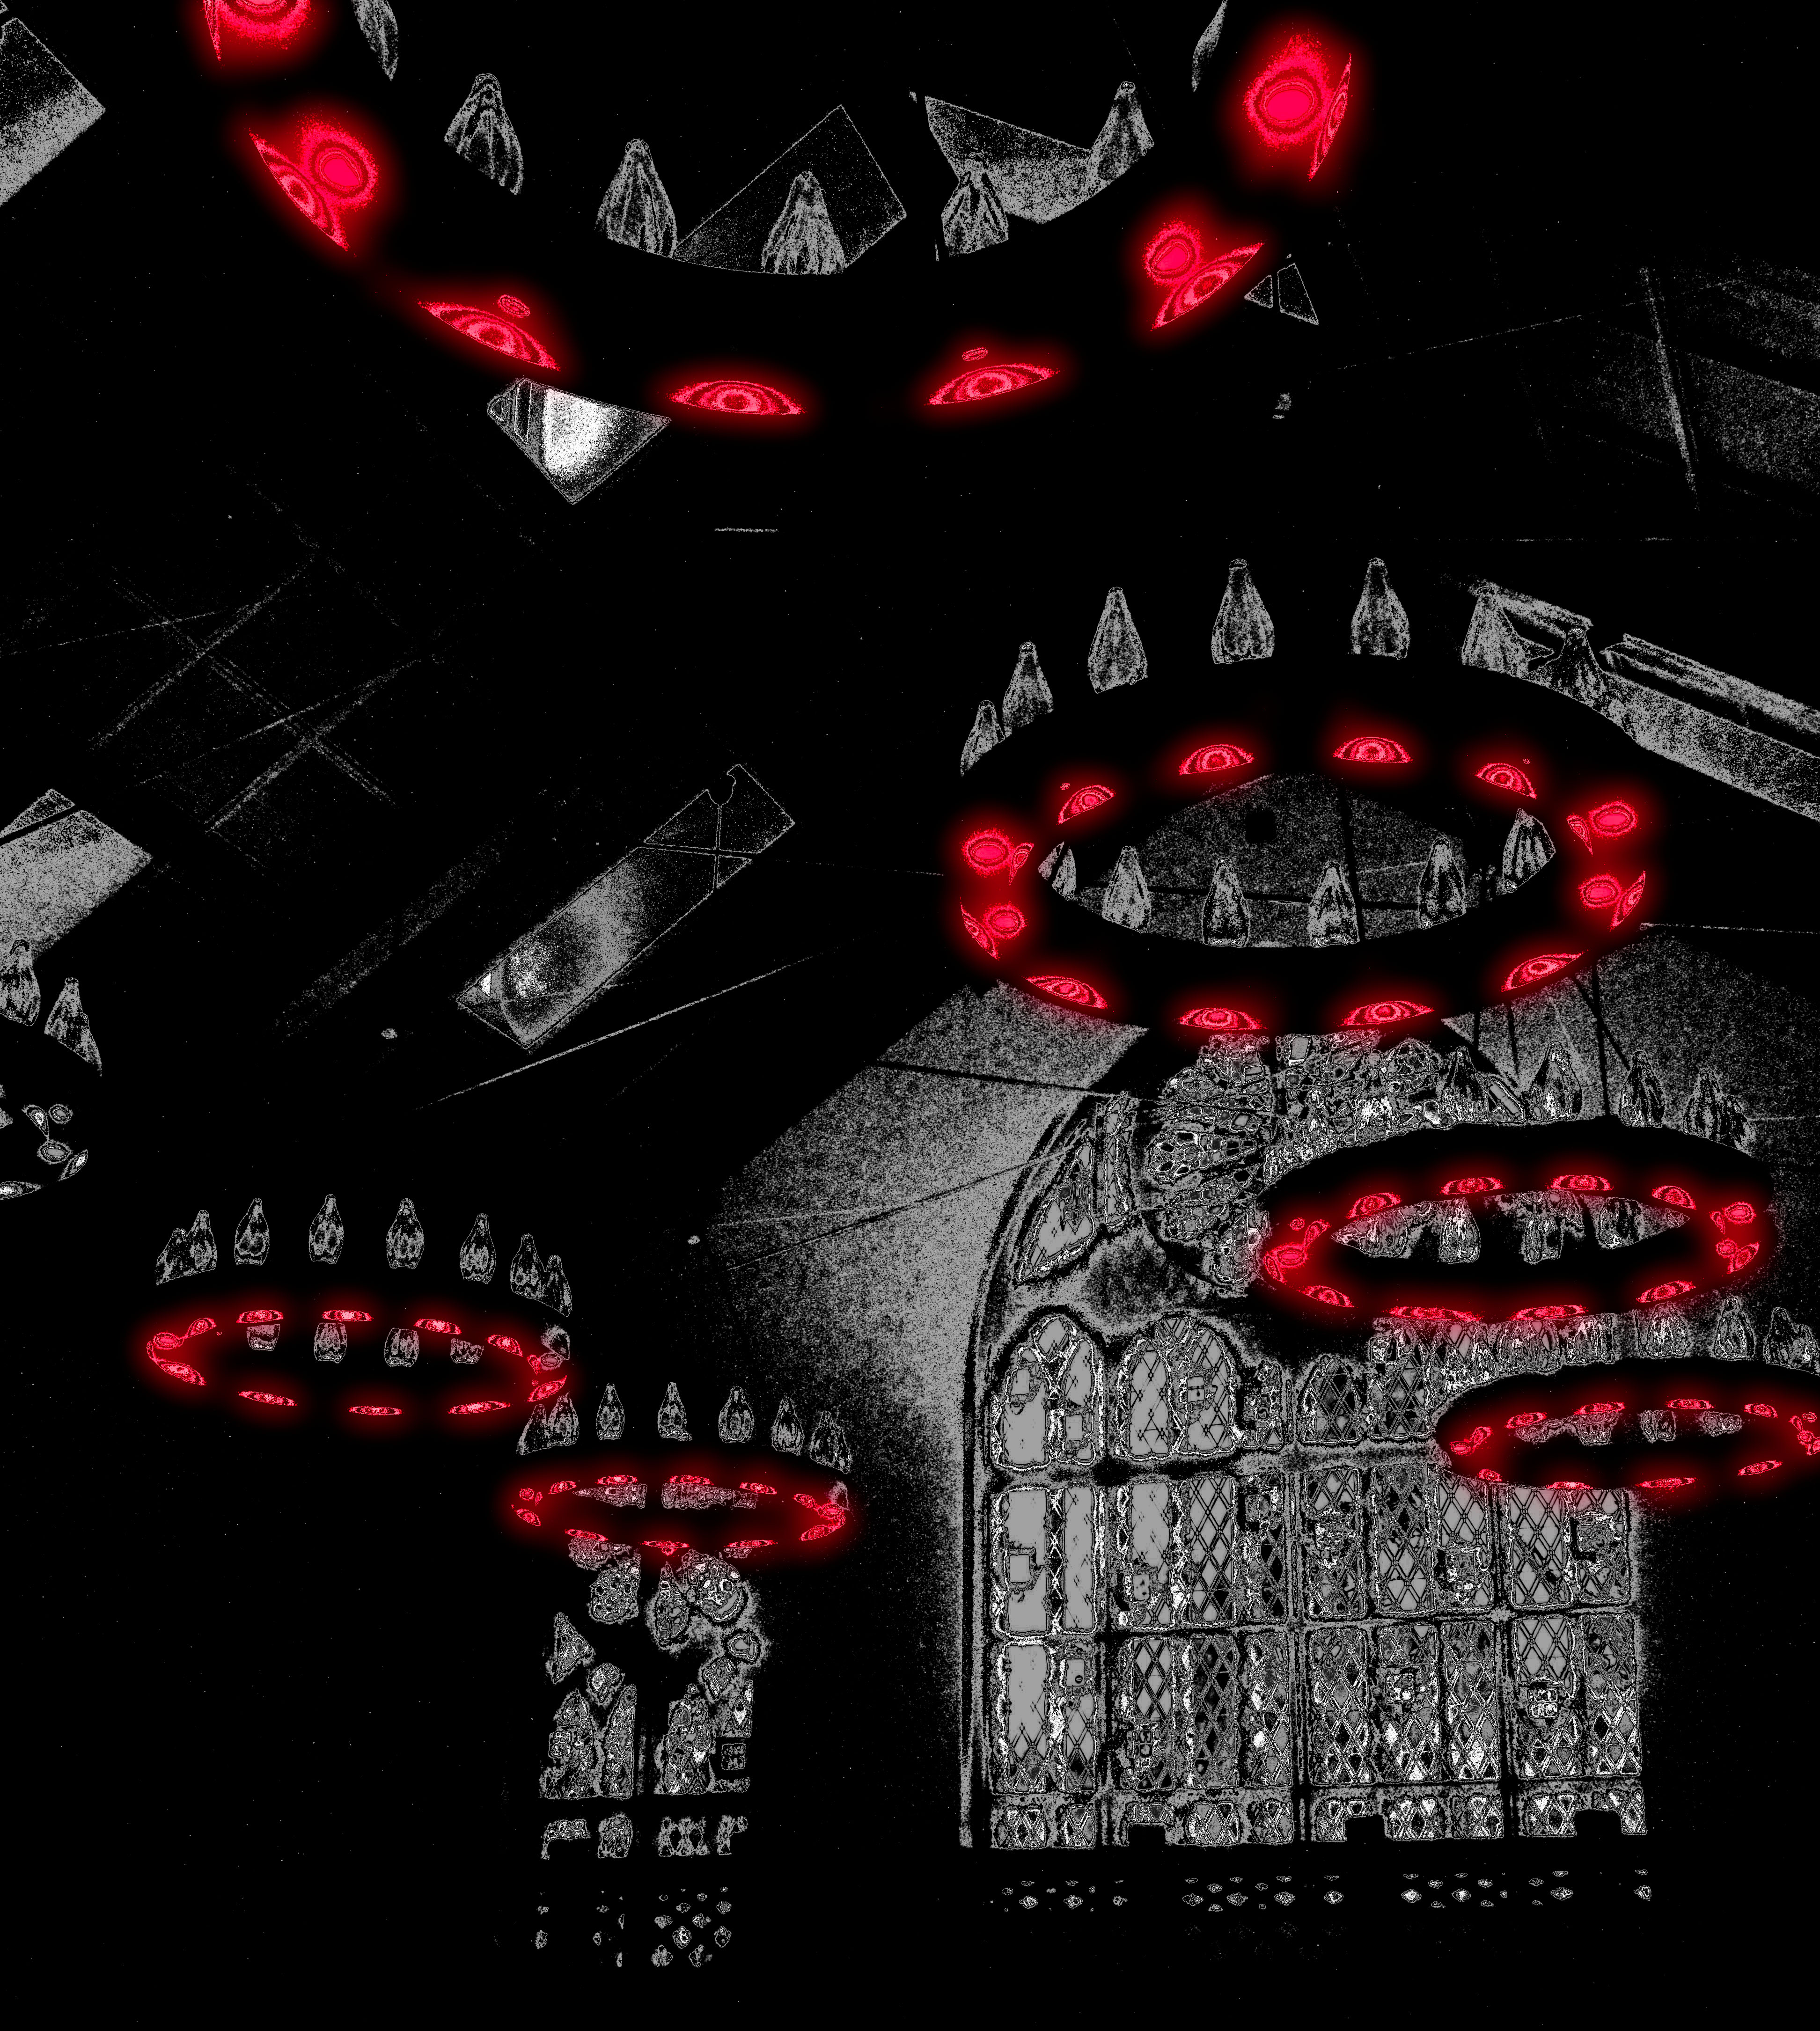
Edits
I usually make pretty small edits to my photos, but sometimes I use photos I've taken as the basis for more abstract edits and geometric artwork.